Last Updated on October 4, 2026 by Umar Farooq
Can you pressure wash brick? Yes, but not at the pressure most people assume. The Brick Industry Association’s published ceiling is 400 PSI measured at the nozzle tip unless your brick manufacturer permits more, with a 25-degree or wider tip held at least 12 inches away. Anything above 800 PSI it calls “not appropriate for brick.” The brick is rarely the problem. The mortar between the bricks is soft, and on houses built before about 1930 it is soft enough that pressure washing can blow the joints out of the wall.
Can you pressure wash brick safely on your particular house? That depends on one thing more than any other, and it is not the brick. It is the mortar. Get that judgement right and the job is easy. Get it wrong and you can cause thousands of dollars of damage in a single afternoon.
Can You Pressure Wash Brick? The Honest Answer
Brick itself is tough. A modern kiln-fired face brick is dense, hard and can shrug off far more pressure than any homeowner machine produces.
Mortar is a completely different material. It is deliberately made weaker than the brick so that any movement in the wall cracks the mortar instead of the brick, because mortar is cheap to replace and brick is not. That design choice is exactly why pressure washing goes wrong.
Brick Is Hard, Mortar Is Not
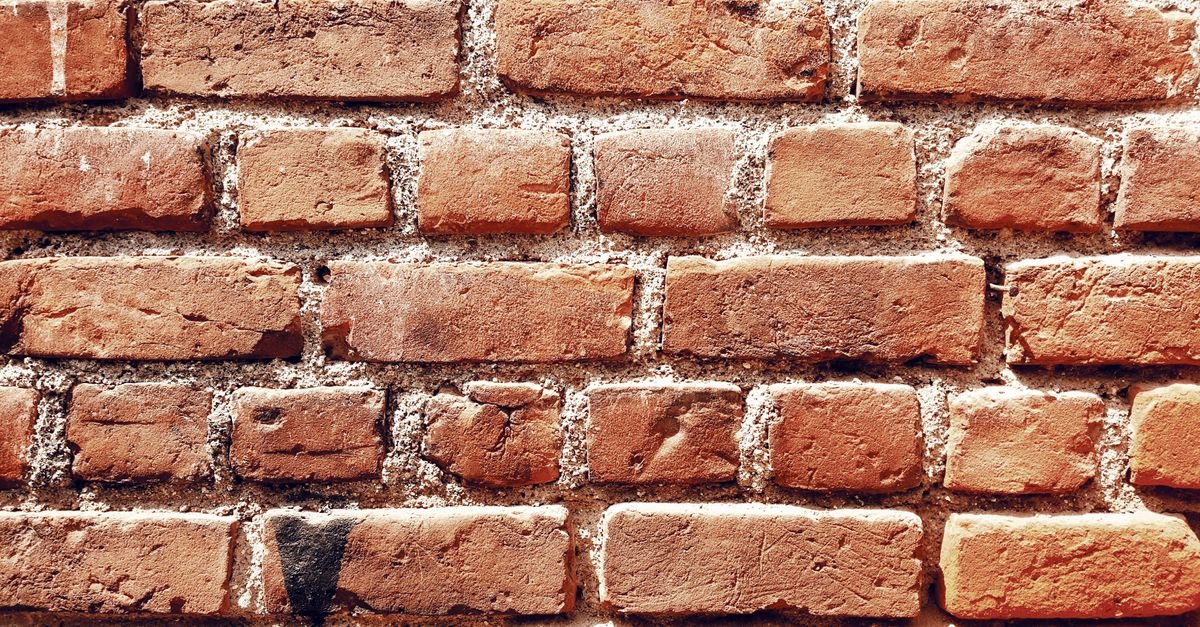
Picture the wall as a grid. The bricks are hard tiles. The mortar joints are the soft grid lines holding them apart, typically 3/8 inch wide across every course.
Point a narrow, high-pressure jet at that grid and the water finds the soft line. It carves a groove, throws out sand and opens a path for rain to get behind the wall. Nothing looks wrong on day one. Two winters later the joints are recessed, the wall holds water, and repointing costs far more than the wash saved.
The Brick Industry Association makes the same point plainly in its guidance, noting that while pressurised water has been used successfully on brickwork, it can cause irreparable damage to any brick type if not done correctly.
Start With the Age of Your House
Mortar chemistry changed over the last 150 years, and it changed the safe pressure with it. Older walls used lime-and-sand mortar, which is soft, breathable and easily eroded. Modern walls use portland-cement mortar, which is far harder.
| Era built | Typical mortar | Brick type | Maximum safe pressure | Recommended approach |
| Before 1880 | Pure lime and sand, very soft | Hand-made, soft-fired | None | Hand wash, garden hose only |
| 1880-1920 | Lime with a little cement | Early machine-made | None | Soft wash, chemistry led |
| 1920-1950 | Lime-cement blend | Machine-made, variable | Under 100 PSI | Pre-wet and rinse only, test first |
| 1950-1980 | Portland cement | Kiln-fired, denser | 100-400 PSI | Low-pressure rinse, 25-degree tip |
| 1980-present | Type N or S portland | Modern extruded face brick | 400 PSI | 25-degree tip, 12-18 in away |
Roughly 1930 is the dividing line most masons use. Before it, assume soft lime mortar until proven otherwise. After it, assume cement mortar but still test.
Those ceilings are lower than most contractors work at, and they are not ours. They come from the trade body for the material. BIA Technical Note 20, Cleaning Brickwork, sets out four pressure classes: very low is under 100 PSI, low is 100 to 400 PSI, medium is 400 to 800 PSI and is to be used “only if permitted by the brick manufacturer,” and high is anything over 800 PSI, of which it says plainly that “high-pressure water cleaning is not appropriate for brick and may damage the brickwork.” Its own instruction is blunter still: do not exceed 400 PSI at the nozzle tip unless the brick manufacturer permits it, and keep the tip at least 12 inches from the wall.
It is worth being honest about the gap. Plenty of working contractors wash brick at two or three times that and hand back a wall that looks fine, because a sound modern face brick is genuinely hard. The damage is not to the brick. It is to the joints, and it shows up a winter or two later as recessed mortar and a wall that holds water, long after anyone connects it to the wash. When the organisation that represents brick manufacturers publishes a number, that number is what this site prints.
How to Date Your Mortar Without a Lab
You do not need a specialist. Lime mortar is usually pale cream or buff, feels chalky, and scrapes with a coin or a key. Portland-cement mortar is grey, hard, and resists a coin entirely.
Look at the joint profile too. If someone has repointed with hard cement over soft lime, you will see grey bands mixed with cream ones, and the brick edges next to the grey are often chipped, because hard mortar pushes damage into the softer brick. Check weather-protected courses on a north-facing wall, where the original mortar shows most clearly.
The Scratch Test: Check Mortar Before You Wash
This takes two minutes and it is the single most useful thing in this article.
Take a key, screwdriver or large coin. Pick three or four spots, including one high on the wall, one near ground level and one under a window where water runs. Press firmly into the mortar joint and drag. Sound mortar barely marks, leaving a light metallic streak at most. Soft mortar gouges and sheds sand, and any joint that sheds sand will not survive a pressure washer.
What a Failed Scratch Test Means
If the mortar crumbles, stop planning a pressure wash. The wall needs repointing before it needs cleaning. Washing a wall with failed joints drives water into the cavity and into the interior.
You can still clean it. Use a garden hose, a soft nylon brush and a masonry-safe detergent, working from the bottom up and rinsing top down. It takes longer and it will not damage anything.
The follow-up question people ask: how much bad mortar is too much? If more than a few isolated joints fail the scratch test, treat the whole wall as unsound. Mortar deteriorates as a system, and the joints you cannot reach are usually worse than the ones you can.
Safe PSI, Nozzle and Distance for Modern Brick
Pressure at the pump is only half the story. The nozzle decides how that pressure lands on the wall, and it is the more important choice.
| Nozzle | Fan angle | Use on brick | Distance | Verdict |
| Red | 0 degrees | Never | — | Cuts mortar out in seconds |
| Yellow | 15 degrees | Spot use, sound modern brick only | 18-24 in | Risky, easy to leave marks |
| Green | 25 degrees | Default for modern brick | 12-18 in | Recommended |
| White | 40 degrees | Older brick, painted brick, rinsing | 12-18 in | Safest option with pressure |
| Black | 65 degrees, soap | Applying detergent | 6-12 in | Low pressure by design |
| Turbo / rotary | Spinning 0 degrees | Never on brick | — | Leaves permanent swirl scars |
Three habits keep you safe. Always start at the lowest pressure your machine allows and increase only if needed. Always test a 2 by 2 foot patch in an inconspicuous corner and look at it in daylight before committing. Always keep the wand moving in overlapping horizontal passes, never held still.
Spray angle matters as much as distance. Hold the wand roughly perpendicular to the wall or angled slightly downward. Aiming upward under the brick courses drives water behind the wall, the same failure that ruins siding jobs. Our nozzle chart covers every colour, and if you are unsure what your machine can even produce, see what PSI you need by surface.
Tuckpointing and Repairs That Must Come First
Cleaning does not fix a wall, and a pressure washer is very good at finding weaknesses you did not know existed. Walk the facade before you connect a hose.
| What you find | What it means | Do this first | Can you wash? |
| Mortar crumbles under a key | Failed or soft mortar | Repoint the affected areas | No, hand wash only |
| Joints recessed more than 1/4 inch | Open joints, water path | Tuckpoint before any water | No |
| Brick faces flaking or popping off | Spalling, trapped moisture | Find the moisture source, replace bricks | No |
| Stair-step cracks through joints | Structural movement | Get a mason to assess | Delay the wash |
| Damp patch on the interior wall | Water already penetrating | Fix the cause first | Delay the wash |
| White bloom that returns each season | Persistent moisture behind brick | Investigate drainage and flashing | Clean gently, fix cause |
| Tight joints, mortar resists a key | Healthy wall | Nothing | Yes, at 400 PSI or less |
Tuckpointing, also called repointing, means raking out failed mortar to a depth of about twice the joint width and packing in fresh mortar. New mortar must cure before it gets blasted with water, so allow at least 28 days between repointing and any pressure washing.
One rule matters more than the rest: the new mortar must be no harder than the old. Repointing a soft lime wall with hard portland cement traps moisture and pushes the damage into the brick faces, which is the most expensive mistake in brick repair.
Historic and Soft-Fired Brick Needs Almost No Pressure
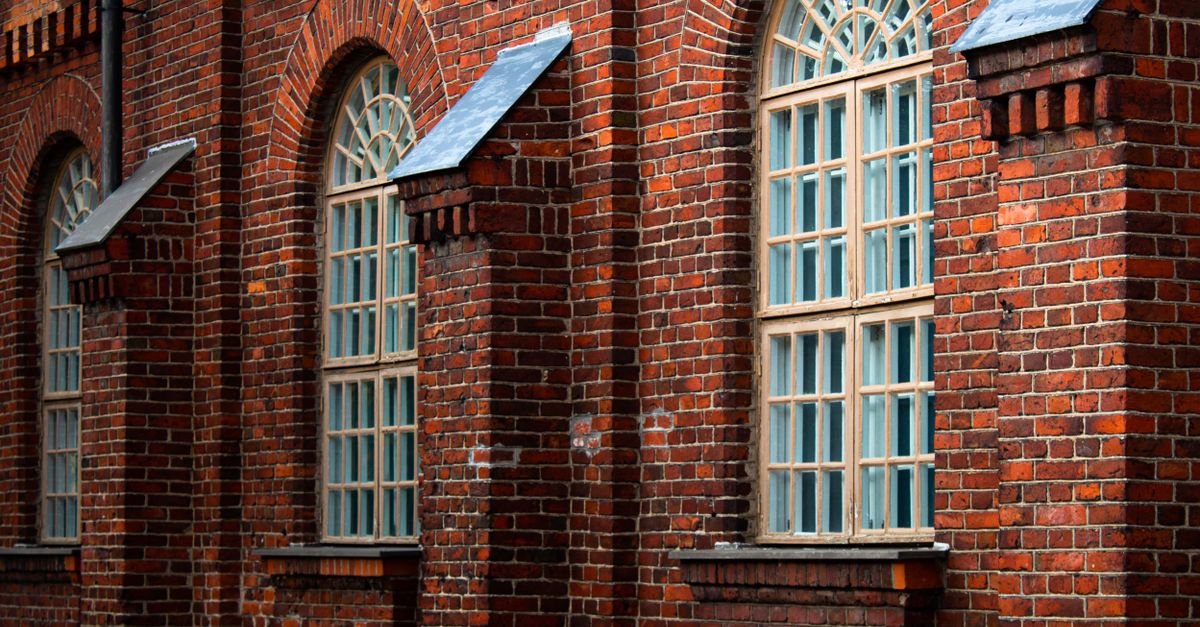
Old brick is not just older, it is a different material. Hand-made and early kiln-fired bricks were fired at lower, less even temperatures, which leaves a hard outer skin over a much softer core. Break that skin and the soft interior absorbs water, freezes and crumbles. The damage is permanent, because you cannot re-fire a brick face.
Conservation practice for these walls is far gentler than most homeowners expect. The US General Services Administration’s procedure for cleaning historic masonry limits washing to a maximum of 300 PSI, with rinsing not exceeding 400 PSI and the nozzle held at least 18 inches away. It also states that raw acids and alkalis may not be used, that high-pressure equipment must not be used to apply any cleaning product, and that surfaces must be fully neutralised afterwards. For context, 300 PSI is roughly what a garden hose with a good nozzle produces.
If your home is listed, in a conservation district, or simply pre-1930 and original, treat pressure washing as off the table. Soft wash instead: apply a mild solution at low pressure, let it dwell, agitate with a soft natural or synthetic bristle brush, and rinse with plain water. Never use wire brushes, which abrade the face and leave metal particles that rust. The National Park Service publishes free guidance on this, including Preservation Brief 1 on cleaning masonry and Preservation Brief 6 on the dangers of abrasive cleaning, in its Preservation Briefs library.
Stain Chemistry: Match the Cleaner to the Problem
Most people reach for more pressure when the real answer is different chemistry. Brick staining is not one problem but several, and each responds to something different.
| Problem | How it looks | Cause | Treatment | Pressure |
| Efflorescence | White powdery bloom | Soluble salts carried out by moisture | Dry brush first, then plain water or a proprietary masonry cleaner | Rinse at 400 PSI or less |
| Mildew and algae | Green or black patches on shaded, damp sides | Biological growth | Sodium hypochlorite solution with a surfactant, dwell, rinse | Low-pressure rinse only |
| Moss and lichen | Green pads or crusty grey-green discs | Biological growth in damp joints | Biocide, dwell 15+ minutes, soft brush | Very low, joints are vulnerable |
| Rust | Orange-brown streaks below metal | Iron from fixings, railings, sprinklers | Oxalic-acid-based masonry rust remover, spot applied | Rinse at 400 PSI or less |
| Mortar smear or haze | Grey film across brick faces | New construction residue | Proprietary masonry cleaner on a pre-wetted wall | 400 PSI or less |
| Soot and smoke | Black greasy film | Combustion, common indoors | Alkaline degreaser or TSP substitute, scrub | None indoors |
| Oil and grease | Dark spreading blotch | Petroleum products | Absorbent poultice, repeat as needed | None, pressure spreads it |
| Paint and graffiti | Obvious | Coating bonded into pores | Masonry-safe stripper or poultice | None, pressure drives it deeper |
Two rules apply to all of them. Always pre-wet the wall with plain water before applying any cleaner, so the brick cannot absorb the chemical deep into its pores. And always rinse thoroughly from the top down until the runoff is clear.
Moss on masonry behaves the same way in a driveway, and the same dwell-and-brush method applies, as covered in our guide to removing moss from concrete.
Why Efflorescence Keeps Coming Back
Efflorescence is not dirt. It is salt already inside the masonry, dissolved by moisture and carried to the surface, where the water evaporates and leaves the salt behind. Scrubbing it off treats only the symptom.
If it returns every spring, water is entering the wall from somewhere: failed flashing, a blocked gutter, splash-back from a hard surface, ground built up above the damp course, or a sprinkler hitting the wall. There is also a trap, because washing efflorescence with lots of water can make it worse by adding the moisture that mobilises the salts. Let the wall dry completely, dry-brush the deposits off first, and only then rinse.
Why Acid Cleaners Burn Brick and Etch Mortar
Muriatic acid, which is diluted hydrochloric acid, is widely sold for masonry cleaning and is widely misused. It works by dissolving material, and it does not distinguish between the residue you want gone and the wall underneath.
On brick it attacks the fired surface, leaving a dull, rough, more absorbent face that catches dirt faster than before. It can also react with iron compounds in the clay to produce permanent yellow-brown staining.
On mortar the damage is worse. Acid dissolves the cement paste binding the sand, leaving a soft, sandy joint that erodes quickly. It also draws salts to the surface, so acid cleaning is a common cause of efflorescence appearing weeks later.
If you use an acidic proprietary cleaner on modern brick, three precautions are non-negotiable. Saturate the wall with plain water first. Never apply it through high-pressure spray equipment. Neutralise and rinse fully, and keep acid off aluminium, glass, painted trim and plants. For historic masonry, skip acid entirely, because conservation guidance prohibits raw acids and alkalis outright.
Spalling and Freeze-Thaw Damage
Spalling is when the face of a brick flakes, blisters or pops off, exposing the softer body underneath. It is the endgame of trapped moisture.
Water enters through open joints or an absorbent face, then freezes. Ice expands about nine percent, and that expansion happens just below the brick surface, pushing it off. Repeat that cycle over several winters and whole faces detach.
Pressure washing interacts with spalling in two bad ways. It reveals damage that was there but hidden, so bricks that looked fine lose their faces during the wash. And it worsens the underlying cause by forcing extra water into the wall right before winter.
Spotting Spalling Before It Is Obvious
Tap suspect bricks gently with the handle of a screwdriver. A sound brick rings slightly. A brick with a detached face gives a dull, hollow knock.
Look for hairline cracks running parallel to the face, a slight bulge or blister, orange sandy dust on the sill beneath a course, and colour differences where the darker fired skin has gone. Concentrate on the bottom three courses, under windowsills and near downspouts, because those are the wettest parts of the wall.
If you find spalling, do not wash. Find the water source, replace the affected bricks, and give the wall a full dry season. Timing helps every wall: wash in late spring or early summer, never within a few weeks of the first expected frost.
Painted Brick Is a Different Job Entirely
Painted brick changes the rules, because you are no longer cleaning masonry, you are cleaning a coating.
If you want to keep the paint, pressure is not the control you think it is. Distance and tip angle are. Stay inside the low band, 100 to 400 PSI, with a 40-degree tip at 18 inches or more. Higher pressure lifts edges and gets under the film, which peels far more paint than you intended to remove. A mild detergent and a soft brush is safer still.
If you want to remove the paint, a pressure washer is the wrong tool. Enough pressure to strip paint is far more than enough to destroy mortar, and it drives paint chips and water deep into the brick. Use a masonry-safe chemical stripper with a peel-away laminate, then rinse at low pressure.
Be aware of lead. Paint applied before 1978 in US housing may contain lead, and blasting it off with water spreads contaminated chips across your yard. Test first and follow lead-safe practices if it is positive.
One bigger point is worth knowing. Paint seals brick, and sealed brick cannot breathe out the moisture it absorbs, which is a common cause of spalling on painted walls. Removing paint from old brick is often the right long-term decision, but it is a project rather than a Saturday.
Can You Pressure Wash Brick Indoors or a Fireplace?
Can you pressure wash brick inside the house, on a fireplace surround, an exposed feature wall or a basement chimney breast? No, and this is one case where the answer is simply never.
There are three reasons. There is no drainage, so every gallon ends up in your floor, subfloor and framing. Interior brick is usually unsealed and tied directly into the structure, so water travels along joists. And fireplace soot is greasy carbon that water smears rather than removes, spreading black stains across the room.
Clean interior brick by hand instead. Vacuum the surface with a brush attachment, then wash with warm water and a mild detergent using a stiff nylon brush, working in small sections and wiping with a damp cloth.
For fireplace soot, a degreasing cleaner beats pressure. A trisodium phosphate substitute mixed to label strength, or a dedicated masonry soot remover, brushed on and rinsed with a damp sponge, lifts carbon that water alone will not. Protect the floor, ventilate the room, and wear gloves and eye protection. Never use bleach near a metal firebox or damper, and never soak firebrick shortly before lighting a fire, because trapped moisture causes spalling when heated.
Step by Step: Washing Brick Without Damage
Work in this order and the job is straightforward.
1. Scratch-test at least four spots and walk the whole wall looking for spalling, open joints and cracks. Repair anything you find, and wait 28 days after repointing.
2. Protect the surroundings. Cover plants with tarps, wet them before and after, close all windows, and move vehicles clear.
3. Pre-wet the entire wall with plain water from the bottom up. Wet brick cannot absorb cleaner deeply, which is what prevents streaking.
4. Apply the cleaning solution through the soap nozzle, bottom up, and let it dwell for the time on the label, usually five to fifteen minutes. Never let it dry on the wall.
5. Agitate stubborn areas with a soft brush on a pole. This does more than pressure does and risks nothing.
6. Rinse from the top down with a 25-degree tip at 400 PSI or less, held 12 to 18 inches away, in overlapping horizontal passes. Keep the wand square to the wall. Rinse before the cleaner dries, which the BIA puts at roughly five to ten minutes after application, and keep going until the runoff at the base of the wall runs clear.
7. Walk the wall again while it is wet and check every joint. Any joint that has lost sand means you should stop and drop the pressure.
Mistakes That Ruin Brick Walls
The damage almost always comes from the same handful of errors. Using a red 0-degree or turbo nozzle, which cuts mortar out of a joint faster than you can react. Holding the wand still or too close, which etches a visible mark into the brick face in about two seconds. Spraying upward into the courses, which pushes water behind the wall, the same mistake that causes trouble on vinyl siding.
Skipping the pre-wet, which lets cleaner soak into dry brick and leave permanent light patches. Washing in late autumn, which leaves the wall saturated going into frost. Using acid without neutralising. And washing before repointing, which turns a small repair into a large one.
The same low-pressure discipline applies to related masonry work, whether that is brick patio pavers or the more fragile surface covered in our guide to what PSI to use on stucco.
FAQ
What PSI is safe for brick?
Lower than most people expect. The Brick Industry Association caps pressurised water on brickwork at 400 PSI measured at the nozzle tip unless the brick manufacturer permits more, and calls anything over 800 PSI inappropriate for brick. For modern brick with sound portland-cement mortar, that means a 25-degree tip at 400 PSI or less, held 12 to 18 inches away. Brick from 1920 to 1950 belongs under 100 PSI, and anything older belongs at no pressure at all. Always start low and test a small patch.
Can pressure washing damage mortar?
Yes, and it is the most common form of damage. Mortar is intentionally softer than brick, so a narrow jet erodes the joint, throws out sand and leaves a recess that collects water. Once a joint has lost depth, the wall needs repointing.
How do I know if my mortar is too soft to pressure wash?
Use the scratch test. Drag a key or coin firmly along several joints in different parts of the wall. If the mortar gouges or sand falls out, it is too soft, and you should hand wash with a hose and brush instead.
Should I pressure wash brick before painting or sealing?
Clean it, but not necessarily with pressure, and let it dry completely. Brick can hold moisture for a week or more after washing, and painting or sealing over damp masonry traps that water inside, which causes peeling and spalling. Give it at least seven dry days.
Will a pressure washer remove efflorescence?
Partly, but it usually comes back. Efflorescence is salt carried out of the wall by moisture, so the lasting fix is finding the water source. Dry-brush the deposits off first, then rinse gently, and inspect gutters, flashing and ground levels.
Is bleach safe on brick?
Diluted sodium hypochlorite with a surfactant is the standard treatment for algae and mildew on masonry, applied at low pressure and rinsed thoroughly. Keep it well away from plants, metal fixings and painted trim, and never mix it with any acidic cleaner. Rinse until runoff is clear.
Can you pressure wash brick in winter?
You should not. Water forced into brick and joints freezes, expands, and causes spalling and joint failure. Wash in late spring or early summer so the wall has months of warm weather to dry out.
How often should brick be cleaned?
Every two to five years is plenty for most homes, and many walls need nothing at all. Over-cleaning wears the fired surface and the joints. Clean when biological growth or staining is genuinely visible, not on a schedule.
Do I need to seal brick after washing?
Usually not. Brick is designed to breathe, and the wrong sealer traps moisture inside the wall, which causes the spalling it was meant to prevent. If you have a specific water-penetration problem, use a breathable vapour-permeable masonry treatment and fix the underlying cause first.
Can you pressure wash brick pavers the same way?
Pavers tolerate more pressure than a wall because they are laid flat and the jointing sand is replaceable, but the sand still washes out. Use a 25-degree tip, keep the wand moving, and plan to re-sand the joints afterwards. Never use a turbo nozzle on paver joints.
The Mortar Decides, Not the Brick
So, can you pressure wash brick? Yes, on modern brick with mortar that passes the scratch test, at 400 PSI or less with a 25-degree tip held 12 to 18 inches away. That covers most houses built since about 1950, and it is a quarter of the pressure the internet will tell you to use.
If the mortar gouges, if the house predates 1930, if bricks are spalling, or if you can see open joints, the answer changes to no. Those walls get soft washed or hand washed with no meaningful pressure at all, after any repointing has cured for a month.
And remember that chemistry beats pressure on almost every brick stain. Pre-wet the wall, let the right cleaner dwell, agitate with a soft brush, and rinse gently. That combination removes more staining than any amount of PSI, and it leaves the mortar exactly where the mason put it.