Last Updated on October 5, 2026 by Umar Farooq
Power washing pavers safely starts before you pull the trigger. Sweep the patio, treat weeds and moss, apply a paver-safe cleaner, then rinse with a pressure washer at 1,200 to 2,500 PSI using a 25-degree nozzle held 10 to 12 inches away and angled across the joints. The pressure will strip some joint sand out, so re-sand every joint once the patio is dry. Skipping that final step is what causes pavers to shift, sink and grow weeds again within a season.
Learning how to clean brick patio pavers is less about buying a stronger machine and more about protecting the thin lines of sand between the stones. That sand is the only thing locking your patio together. Get the sand right and a cleaned patio stays flat and tight for years. Get it wrong and you will be lifting sunken pavers next spring.
This guide walks through paver identification, exact pressure settings, weed and moss removal, efflorescence, stain-by-stain treatment, re-sanding and sealing — in the order you should actually do them.
Know Your Paver Type First — It Sets the Pressure Limit
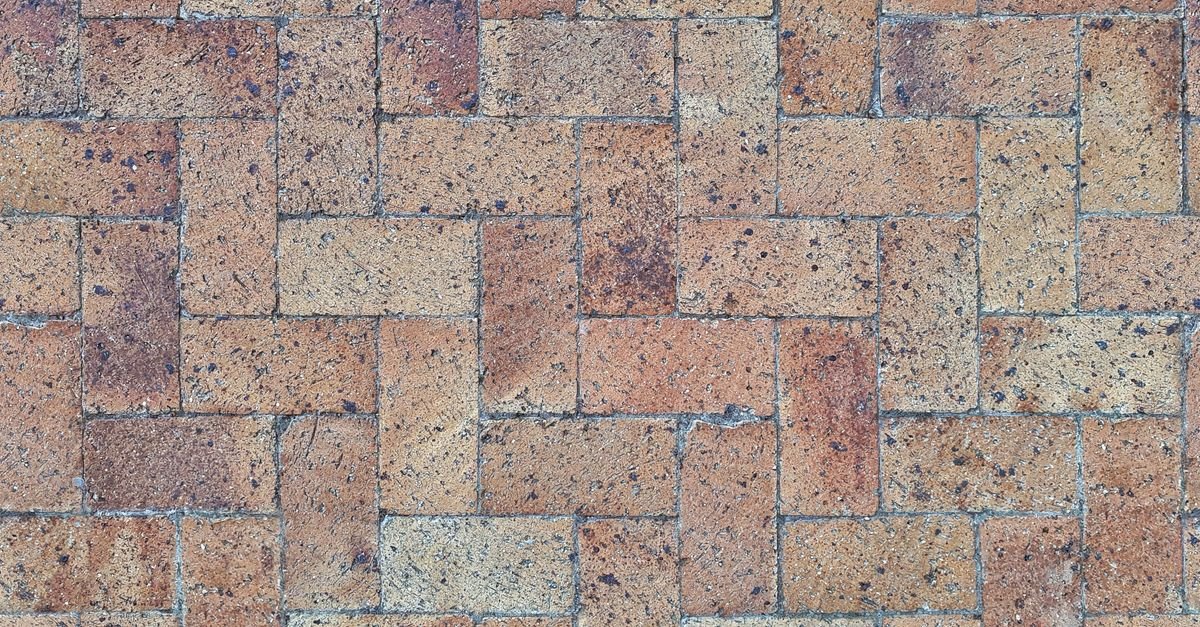
Not all “brick” patios are brick. Walk out and look at an edge or a broken corner. What you see there decides your maximum safe pressure.
Clay Brick Pavers
True clay brick is fired earth. It is dense on the outside but the colour runs all the way through, and the surface is slightly porous. Clay handles water well but it chips at the edges and the face can pit if you hit it with a narrow jet. Old reclaimed clay street pavers are softer still. Keep clay in the 1,200 to 1,800 PSI band and never use a 0-degree tip on it.
Concrete Pavers
These are moulded from pigmented concrete and are what most modern “brick-look” patios actually are. Check a broken edge: if the inside is grey and the top face is a different colour, it is concrete. The pigment layer on the top can be as thin as 1/8 inch. Concrete pavers are the toughest of the three and tolerate 1,500 to 2,500 PSI, but chewing through that pigment layer leaves permanent pale patches.
Natural Stone Pavers
Bluestone, travertine, limestone, sandstone and slate. These are softest of all and often have layered or flaky faces. Sandstone and travertine can be sanded away by a pressure washer in seconds. Stay at 800 to 1,500 PSI, use a 40-degree tip, and lean on chemistry rather than force.
| Paver type | Safe PSI range | Nozzle | Distance | Main risk |
| Clay brick (modern) | 1,200–1,800 | 25° | 10–12 in | Edge chipping, face pitting |
| Clay brick (reclaimed/antique) | 800–1,200 | 40° | 12–18 in | Crumbling, surface loss |
| Concrete paver (standard) | 1,500–2,500 | 25° | 8–12 in | Pigment layer wear |
| Concrete paver (tumbled/textured) | 1,200–2,000 | 25° | 12 in | Sand exposure, roughening |
| Bluestone / slate | 1,200–1,800 | 25–40° | 12 in | Delamination on layered stone |
| Travertine / limestone | 800–1,200 | 40° | 12–18 in | Etching, pitting |
| Sandstone | 800–1,200 | 40° | 12–18 in | Rapid surface erosion |
If you cannot identify your pavers with confidence, start at 1,200 PSI in a corner behind a planter and work up. You can always add pressure. You cannot put a paver face back on.
Safe PSI, Nozzle and Distance for Pavers
Pressure is only one third of the equation. The nozzle spreads that pressure over an area, and distance decides how much of it survives the trip to the surface. Change any one of the three and the force landing on your patio changes dramatically.
Why the 25-Degree Nozzle Wins
A 25-degree (green) tip spreads water into a fan wide enough to clean a strip in one pass but tight enough to lift embedded grime. A 40-degree (white) tip is gentler but slow, and it tends to push dirt around rather than lift it. A 15-degree (yellow) tip cleans fast but carves visible lines into concrete pavers and blasts joint sand out from six inches down the joint. The red 0-degree tip has no business anywhere near a patio.
Turbo and rotary nozzles are a special case. They concentrate a pencil jet and spin it, which cleans concrete beautifully but will hollow out paver joints faster than anything else in the box. If you want more on matching tips to jobs, our pressure washer nozzle chart breaks down every colour and its spray angle.
Angle and Distance: The Two Settings That Save Your Joints
Hold the wand so the spray hits the paver face at roughly 45 degrees, and sweep *across* the joints rather than along them. Spraying along a joint line turns it into a channel and the water follows it, scouring sand out for several feet. Sweeping across means the jet crosses each joint for a fraction of a second.
Keep the tip 10 to 12 inches off the surface for concrete pavers and 12 to 18 inches for clay and stone. Move in steady overlapping passes about 12 inches wide, overlapping each pass by a third. Never pause with the trigger down. A stationary jet for two seconds is enough to leave a mark you will see every time you sit outside.
| Nozzle | Distance | What happens on a concrete paver |
| 40° white | 12 in | Gentle rinse; removes loose dirt only; joint sand safe |
| 25° green | 12 in | Full clean; light sand loss at joint edges |
| 25° green | 6 in | Fast clean; noticeable sand loss; slight surface roughening |
| 15° yellow | 12 in | Aggressive; visible wand stripes; heavy sand loss |
| 15° yellow | 6 in | Pigment removal; permanent striping |
| Turbo / rotary | 12 in | Deep clean but joints emptied to full depth |
| 0° red | Any | Instant gouging; never use |
Power Washing Pavers: The Seven-Step Method
Here is the full sequence. Do it in this order — every step sets up the one after it.
1. Clear and sweep. Move furniture, planters and grills off the patio. Sweep hard with a stiff push broom to remove grit. Grit left on the surface becomes a projectile under pressure and can scratch the pavers.
2. Pull weeds and treat moss. Do this days ahead, not on wash day. Details in the weeds section below.
3. Protect the surroundings. Wet down adjacent lawn and beds before you start and again afterwards, so cleaner runoff is diluted. Cover any plants you cannot move. Close nearby windows.
4. Pre-wet the whole patio. Rinse everything with a garden hose first. A damp surface stops cleaner from soaking unevenly into porous clay and prevents blotchy results.
5. Apply a paver-safe cleaner and let it dwell. Work in sections you can finish in about ten minutes. Let the cleaner sit 5 to 10 minutes but never let it dry on the surface. If it starts drying, mist it.
6. Agitate, then pressure rinse. Scrub stubborn areas with a stiff nylon brush — not a wire brush, which leaves metal fragments that rust into orange freckles. Then rinse at your chosen PSI with the 25-degree tip, sweeping across the joints.
7. Let it dry, then re-sand. The patio must be surface-dry before joint sand goes in. This is the step almost everyone skips and it is the one that determines whether the patio lasts.
What Power Washing Pavers Does to the Joint Sand
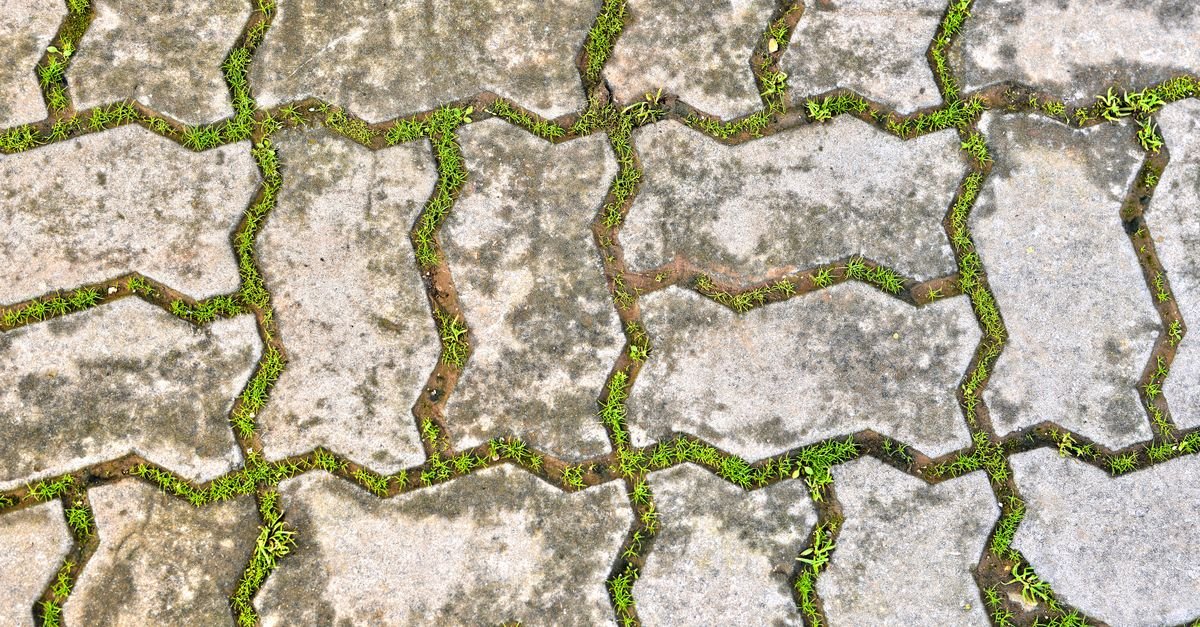
Joint sand is structural. A paver patio has no mortar. It holds together because each stone is wedged tightly against its neighbours by compacted sand, with the whole field locked in by edge restraints. Remove the sand and every paver gains a millimetre or two of play. Multiply that across a hundred pavers and the pattern spreads, edges drop, and rainwater starts running down into the bedding layer instead of over the top.
You cannot pressure wash a patio and lose zero sand. What you can do is lose a little instead of a lot:
- Sweep across joints, never along them. This single habit cuts sand loss more than any other change.
- Raise the wand. Every extra inch of distance takes a meaningful bite out of impact force.
- Use a surface cleaner attachment. The spinning bar inside a flat-surface cleaner distributes pressure evenly and keeps the nozzles at a fixed height, which is far kinder to joints than a hand-held wand. These attachments need decent flow to spin properly — see how much PSI to clean a concrete driveway for the PSI and GPM they actually require.
- Wash when the joints are dry, not soaked. Sand that is already saturated flows out much more easily.
- Do not chase every last speck. A patio that is 95 percent clean with full joints looks far better in six months than one that is 100 percent clean with empty joints.
How do you know if you lost too much sand? Push a screwdriver into a joint. If the sand level is more than about 1/8 to 1/4 inch below the top of the paver chamfer, that joint needs refilling. Check ten or twelve joints across the patio, not just one.
Weeds and Moss: Kill the Roots, Not Just the Green
Blasting a weed out of a joint feels satisfying and accomplishes almost nothing. The taproot stays in the bedding sand and the plant is back in three weeks — now growing in a joint that has less sand holding it shut.
Treat vegetation three to seven days before you wash. Kill the plants first, let them die back and brown, then remove the dead material during the wash. Options, weakest to strongest:
- Boiling water poured directly into joints. Free, immediate, kills small annual weeds. Ineffective on deep-rooted perennials.
- Household vinegar or a horticultural acetic acid product, applied on a hot dry day. Burns top growth well; root kill is hit and miss. Keep acid off natural stone and never let it pool.
- A dedicated moss and algae killer. Moss is the more common problem in shaded patios and it does not have roots at all — it has rhizoids that sit on the surface, which is why it lifts more easily than weeds but returns fast if the shade and damp remain.
- A targeted herbicide for established perennial weeds with taproots, applied per label.
After the wash, prevention beats cure. Full joints and a good sand product remove the seed bed. Techniseal notes that a properly installed polymeric joint creates “a very hostile environment for weeds and pest infestations (such as ants)” precisely because the joint holds together as one mass rather than loose grains.
Moss on hard surfaces behaves the same way whether it is a patio or a driveway — our guide to removing moss from a concrete driveway covers the chemistry in more depth.
Efflorescence: The White Haze That Is Not Dirt
If your pavers have a chalky white film that gets worse after rain and appears in patches rather than in traffic patterns, you are looking at efflorescence — not dirt. No amount of pressure will remove it, and trying is how people wreck paver faces.
Efflorescence is salt. Techo-Bloc explains that it forms when three things combine: moisture, salts and migration — water dissolves the natural salts inside cement-based products, carries them to the surface, then evaporates and leaves the mineral behind as a white deposit.
Three things follow from that:
1. It is normal on new pavers. Techo-Bloc advises waiting at least 60 days after installation before treating it, so the pavers stabilise and the efflorescence has fully surfaced. In many cases it fades on its own over “weeks or even a few months.”
2. It needs an acid-based efflorescence cleaner, not a detergent. The salt has to be chemically dissolved. Pre-wet the surface first so the cleaner does not soak deep, test a hidden corner, follow the label dilution, and never let the product dry on the pavers.
3. Rinse at low pressure with a stiff nylon brush, not high pressure. The chemistry does the work.
Avoid muriatic and sulfuric acid on pavers. They are strong enough to strip pigment and etch the surface, and the damage is permanent.
Stain-by-Stain Treatment Guide
Different stains sit in different places. Surface stains rinse off. Absorbed stains have to be pulled back out with a poultice — an absorbent paste that dries on the stain and draws it upward. Pressure alone rarely fixes an absorbed stain and will chew the paver while it fails.
| Stain | Where it sits | Best treatment | Pressure wash after? |
| General dirt, dust, pollen | Surface | Paver cleaner + 25° rinse | Yes |
| Algae / mildew (green or black film) | Surface | Sodium hypochlorite or oxygen bleach, 10-min dwell | Yes, low pressure |
| Moss | Surface | Moss killer, 3–7 days, then sweep and rinse | Yes |
| Efflorescence (white haze) | Surface mineral | Efflorescence cleaner, brush | Low pressure rinse only |
| Fresh oil / grease | Absorbing | Cat litter or absorbent powder, then degreaser | Yes, after degreaser |
| Old oil / grease | Absorbed | Alkaline degreaser + poultice, may need 2–3 rounds | Yes |
| Rust | Absorbed | Oxalic-acid rust remover; never chlorine bleach | Low pressure rinse |
| Leaf and berry tannin | Absorbed | Oxygen bleach (sodium percarbonate) soak | Yes |
| Paint | Surface film | Paint stripper safe for masonry | Yes, after stripping |
| Tyre marks | Surface polymer | Citrus degreaser + scrub | Yes |
Oil and Grease
Fresh oil is a race. Cover it with cat litter, sawdust or an absorbent powder immediately and leave it for several hours to wick the oil up out of the pores. Sweep it off, then apply an alkaline degreaser and agitate with a stiff brush before rinsing hot if you have hot water. Old oil that has soaked in needs a poultice cycle — apply, cover with plastic, leave 24 hours, remove, repeat. Expect two or three cycles on a driveway-age stain. The same principles apply on slabs, which we cover in detail in will pressure washing remove oil stains from concrete.
Rust
Rust from patio furniture feet, fertiliser spills or rebar comes out with an oxalic acid rust remover. Do not reach for chlorine bleach: hypochlorite cleans by oxidising, rust is already oxidised iron, and it has no way to lift the iron out of the surface. It lightens everything around the stain instead. Pre-wet, apply, dwell per the label, brush, rinse. Rust on light-coloured pavers may leave a faint shadow even after successful treatment.
Leaf, Berry and Tannin Stains
Wet leaves left on a patio over winter leave brown tannin outlines. Oxygen bleach (sodium percarbonate) dissolved in warm water and left to dwell for 20 to 30 minutes lifts these without bleaching pigment. It is slower than chlorine bleach but far safer on coloured concrete pavers and on nearby lawn.
Re-Sanding the Joints Is the Real Finish Line
Once the patio is dry, refill every joint. This is not optional maintenance — it is the second half of the job.
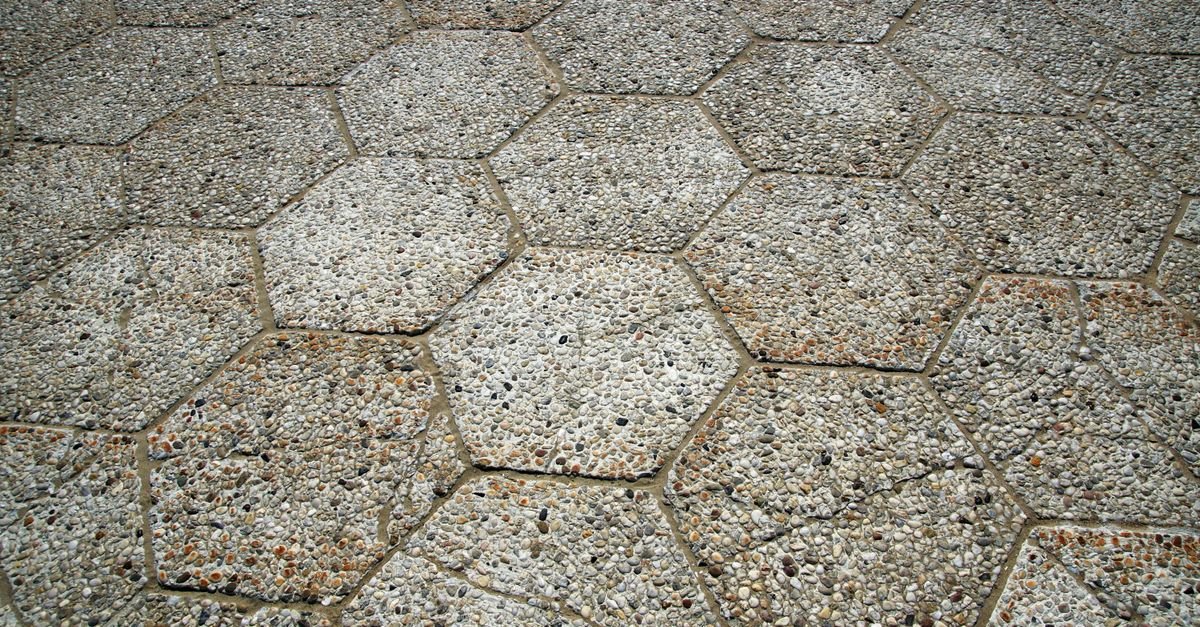
Polymeric Sand vs Regular Joint Sand
| Regular jointing sand | Polymeric sand | Sand-based stabiliser | |
| What it is | Washed, angular, kiln-dried silica | Sand blended with binding polymers | Regular sand + liquid binder applied after |
| Sets hard? | No | Yes, after watering | Partially |
| Weed resistance | Low | High | Medium |
| Ant resistance | Low | High | Medium |
| Washout resistance | Low — replenish yearly | High | Medium |
| Works in joints | Any width | Best 1/4 in to 1.5 in | Any width |
| Typical cost per 50 lb bag | Lowest | 3–5× regular sand | Mid |
| Fixable later | Very easy — sweep more in | Harder — must be removed to full depth | Easy |
| Haze risk on textured pavers | None | Real — polymer can lodge in texture | Low |
| Cure before use | Immediate | 24 h foot / 72 h vehicle | 24 h |
Polymeric sand is the right default for most patios. The exception is heavily textured or deeply tumbled pavers, where polymer particles lodge in the grooves and leave a stubborn haze when wet. On those, regular sand topped with a stabiliser, or plain sand replenished annually, is safer.
How to Install Polymeric Sand Correctly
Sakrete is blunt about the preparation: “The first thing you need to do is remove ALL of the existing sand down to the bottom of the paver.” Polymeric sand only performs when it fills the full joint depth. Half-depth polymeric over old sand cracks and breaks up.
The sequence:
1. Confirm the patio is bone dry. Any moisture in the joints activates the polymer early.
2. Clear joints to full paver depth with a joint-cleaning blade or a narrow scraper.
3. Pour sand on the surface and sweep it into every joint diagonally to the pattern.
4. Tap or vibrate the pavers to settle the sand, then sweep more in. Sakrete recommends filling to within 1/8 inch of the top of the paver, not flush with it.
5. Sweep and blow the surface completely clean. Any polymer dust left on the face will harden into a haze.
6. Water in “shower” mode in short bursts, watching until the joints stop drinking. Too much water floats the polymers out; too little leaves the joint soft.
7. Restrict foot traffic for about 24 hours and vehicles for around 72 hours, longer in cool or damp weather.
Sealing After Cleaning — and the Dry Time You Cannot Rush
Sealing is optional, but it deepens colour, slows staining and helps lock joints. If you seal, timing is everything.
| Stage | Minimum wait | Why |
| After pressure washing → before re-sanding | 24 h surface dry | Damp joints ruin polymeric sand |
| After polymeric sand → before sealing | 48–72 h | Polymer must fully cure |
| After new paver installation → before sealing | 60–90 days | Lets efflorescence surface and dissipate |
| After sealing → foot traffic | 24 h | Sealer tack-free |
| After sealing → furniture and vehicles | 48–72 h | Full cure; prevents print marks |
| Resealing interval | 3–5 years | Depends on sun, traffic and product |
Two more rules. Seal only when you have a two-day dry-weather window and temperatures between roughly 50°F and 90°F. And never seal a patio that still has efflorescence — you will trap the salt under a permanent film and it will look worse, not better.
Water-based sealers are lower odour, breathable and forgiving. Solvent-based sealers give a stronger “wet look” but are less tolerant of trapped moisture. Matte finishes hide wear better than gloss.
Six Mistakes That Ruin Pavers
1. Using a turbo nozzle on a patio. It cleans wonderfully and empties your joints to full depth in a single pass.
2. Spraying along the joint lines. The water follows the channel and scours out sand for feet at a time.
3. Washing and walking away. An unsanded patio starts moving the first time it rains hard.
4. Wire brushes. Steel filaments break off, lodge in the pores and bloom into rust spots weeks later.
5. Muriatic acid for the white haze. It strips pigment and etches the surface permanently.
6. Sealing too soon. Trapped moisture goes cloudy under the sealer and the only fix is stripping it off.
Your Paver Maintenance Calendar
| Task | Frequency | Notes |
| Sweep and hose down | Monthly in season | Prevents grit from grinding the surface |
| Spot-treat weeds and moss | As they appear | Far easier than a whole-patio kill |
| Full clean and rinse | Once a year, spring | Or twice in heavily shaded, damp gardens |
| Check joint sand depth | Twice a year | Screwdriver test on ten joints |
| Top up joint sand | As needed | Regular sand every 1–2 years; polymeric every 5–10 |
| Reseal | Every 3–5 years | Only on a fully dry, unhazy surface |
Doing the small jobs on schedule means the big jobs stay small. A patio swept monthly and spot-treated for weeds rarely needs an aggressive wash at all, and a patio that never needs an aggressive wash never loses its joint sand.
FAQ
What PSI is safe for brick patio pavers?
Between 1,200 and 1,800 PSI for clay brick, 1,500 to 2,500 PSI for standard concrete pavers, and 800 to 1,500 PSI for natural stone. Pair the pressure with a 25-degree nozzle held 10 to 12 inches away. If you are unsure of your machine’s capability, our guide to what PSI pressure washer you need explains how to match a unit to the surfaces you own.
Do I have to re-sand after every pressure wash?
Almost always yes, at least partially. Even careful technique lifts some sand from the top of the joints. Do the screwdriver test on ten joints across the patio; if the sand sits more than about 1/4 inch below the paver top, refill. Skipping this is the single most common reason cleaned patios start shifting.
Can I clean brick patio pavers without a pressure washer?
Yes. A stiff nylon deck brush, a bucket of paver cleaner or oxygen bleach solution, and a garden hose will handle a lightly soiled patio. It takes longer and needs more scrubbing, but it removes essentially no joint sand, which makes it the safest option for old clay brick, travertine or any patio you are not planning to re-sand.
Will bleach damage my pavers?
Diluted sodium hypochlorite is widely used on algae and mildew and is safe on most concrete pavers when rinsed thoroughly. It can lighten pigment on coloured pavers and it will kill grass and border plants, so pre-wet and post-rinse surrounding vegetation. On rust stains, avoid chlorine bleach entirely — it can set the stain permanently.
Why does my patio look worse after washing?
Three usual causes. High pressure roughened the surface so it now holds dirt faster. The wash removed dirt unevenly and exposed old stains that were previously hidden. Or the joints emptied, and the shadow lines between pavers now look dark and uneven. All three are avoidable with wider nozzles, more distance and a full re-sand.
How long should pavers dry before sanding and sealing?
Allow at least 24 hours of dry weather before sweeping in joint sand, and 48 to 72 hours after polymeric sand cures before applying a sealer. Cool or humid conditions extend all of these. Rushing either step is the most common cause of hazy sealer and crumbling joints.
Is a surface cleaner attachment better than a wand for pavers?
For flat open patios, yes. A surface cleaner holds its nozzles at a fixed height and sweeps them in a circle, which spreads pressure evenly, eliminates wand stripes and disturbs joints less than a hand-held wand. It also cleans two to four times faster. You still need the wand for edges, steps and tight corners.
Can I use the same settings on my paver driveway?
Driveway pavers are usually thicker and set on a deeper base, but the paver material and joint sand are the same, so the pressure limits do not change. Vehicle traffic does make full joints even more important — under-sanded driveway pavers rock under tyre loads and start to rut.
What causes white powder to keep coming back on my pavers?
Persistent efflorescence means water is still moving through the pavers and carrying salts up. Common causes are poor drainage, a downspout discharging onto the patio, irrigation overspray, or a base that is holding water. Treat the deposit, but fix the water path or it returns every season.
How often should I clean brick patio pavers?
A full clean once a year in spring suits most patios. Shaded, damp or tree-covered gardens often need twice a year to stay ahead of algae and moss. Between full cleans, monthly sweeping and immediate spot treatment of spills does most of the work and dramatically reduces how aggressive the annual wash needs to be.
Re-Sand the Joints Before You Even Think About Sealer
Knowing how to clean brick patio pavers comes down to three decisions made before you pull the trigger: identify the paver material so you know the pressure ceiling, pick a 25-degree nozzle and keep it 10 to 12 inches back, and sweep across the joints rather than along them. Treat weeds and moss days ahead, use the right chemistry for efflorescence and absorbed stains rather than more force, and accept that a slightly less aggressive wash gives a better long-term result.
Then finish the job properly. Let the patio dry, refill every joint to within 1/8 inch of the top, and give polymeric sand its full 24 to 72 hours to cure before anyone walks or parks on it. Seal only after the surface is fully dry and free of haze. A patio cleaned this way looks sharp, drains correctly and stays locked together — which is more than can be said for one cleaned at 3,000 PSI and left with empty joints.