Last Updated on September 25, 2026 by Umar Farooq
Pressure washer unloader valve adjustment is a four-step job: fit a gauge in the line, back the adjusting knob all the way off, bring it up in quarter turns while watching the needle, then cycle the trigger and lock the nut — and you stop at or below the pump’s rated PSI, never above it.
That is the whole procedure. Everything below is why each step exists, and what happens to people who skip the gauge — which is most of them, because the knob is right there and it turns so easily.
The Knob Sets a Threshold, Not a Pressure
The unloader does not generate pressure. It decides at what pressure the pump stops sending water to the gun and starts sending it round the bypass loop. Your working pressure comes from two other things entirely: the pump’s flow rate and the size of the nozzle orifice. A fixed GPM squeezed through a smaller hole gives higher pressure.
So when you turn the knob clockwise, you are not turning up a tap. You are raising the ceiling at which the valve trips into bypass. If your nozzle is delivering 2,600 PSI and the unloader trips at 2,800, winding it to 3,400 changes your spray pressure by nothing at all — it just makes the spike larger when you let go of the trigger.
Cat Pumps describes the unloader as “a primary pressure control device to set and maintain consistent system pressure while providing an energy and system savings feature that allows the pump to run at low pressure when the downstream flow shuts off” (Cat Pumps unloaders). Control device. Not an accelerator.
Which brings me to the one thing I will be blunt about: if you are reaching for the unloader because the machine feels weak, you are probably adjusting the wrong part. A worn nozzle orifice enlarges with use, pressure falls, and the temptation is to wind the unloader up to compensate. It cannot compensate. The nozzle is the restriction; the valve is the threshold. Replace a $4 tip before you touch a valve that can cost you a pump head. Our pressure washer nozzle chart has the orifice sizes if you want to check what you are actually running.
Which Unloader Do You Have — Trapped Pressure or Flow Actuated?
Here is the detail that almost every adjustment tutorial online leaves out, and it is the one that decides whether your procedure works. There are two kinds of unloader, and they are adjusted differently — one with the trigger held open, one with the trigger released.
| Trait | Trapped pressure (pressure actuated) | Flow actuated (flow sensitive) |
| Reacts to | System pressure only | Flow and pressure together |
| Feel at the gun | Instant pressure the moment you pull | Gradual build, a “soft start” |
| Adjusted | With the trigger released | With the trigger held open |
| Typical fit | Homeowner and general-duty machines | Machines used on delicate surfaces |
| When it wears | Degrades gradually, keeps half working | Can stop working once out of tolerance |
General Pump puts the difference plainly: trapped pressure valves “react only to pressure in the system and give you instant pressure when you open the trigger gun,” while flow actuated ones “react to both flow and pressure and give you a gradual build in pressure, sometimes referred to as a ‘soft start'” (General Pump FAQs). Trapped pressure is the common fit on consumer machines and costs roughly a quarter as much to repair.
I went looking for one agreed adjustment procedure across the manufacturer sheets and came back with two, separated by a component usually hidden under an unlabelled brass cap. The part number in your manual will tell you which you have, and a flow actuated valve gives itself away at the gun: pull the trigger and the pressure arrives over about a second rather than immediately.
If you are still working out which valve on your machine is which, the pressure washer relief valve guide separates thermal relief, pressure relief and the unloader properly. Read that first if the parts diagram is not making sense.
Fit a Gauge Before You Touch the Knob
Adjusting an unloader without a gauge is guessing at a number that can destroy the most expensive part of the machine, and it costs about twenty dollars not to guess.
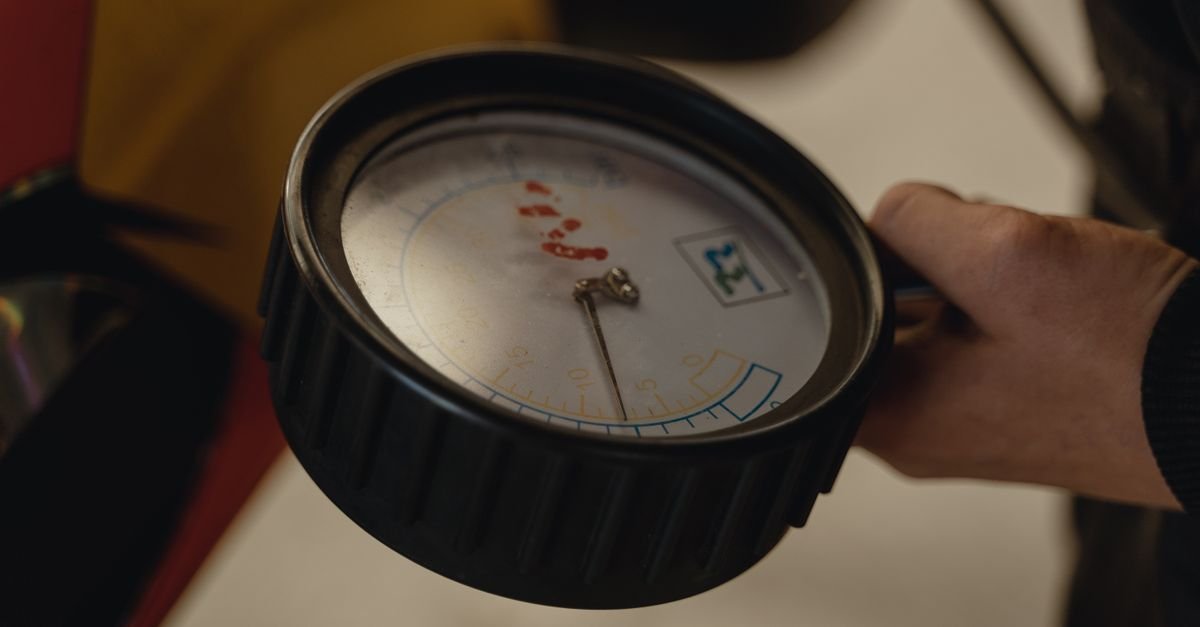
Fit an inline liquid-filled gauge between the high-pressure hose and the gun, or at the pump outlet if there is a port. Liquid-filled matters: a dry needle flickers so hard under pulsation that you cannot read it.
Before you change anything, write down what the machine currently does:
- Spray pressure with the trigger held open and the nozzle you normally use fitted.
- Bypass pressure in the second after you release the trigger.
- The pump’s rated PSI, from the plate on the pump or the manual. Not the number on the box, which is often the spike figure.
Those three numbers are your before-picture. If the adjustment goes badly, they are also how you get back. Use a 25-degree tip for the whole procedure rather than a 0-degree: you want a stable reading, and you do not want a pencil-width jet loose in a garage while your attention is on a needle. A high-pressure jet that breaks the skin leaves a wound that looks like a pinhole and is not one. Point the gun at the ground, and keep your free hand behind it.
Pressure Washer Unloader Valve Adjustment in Quarter Turns
Water running, engine at its normal governed speed, gauge fitted, gun pointed somewhere sensible. Four steps.
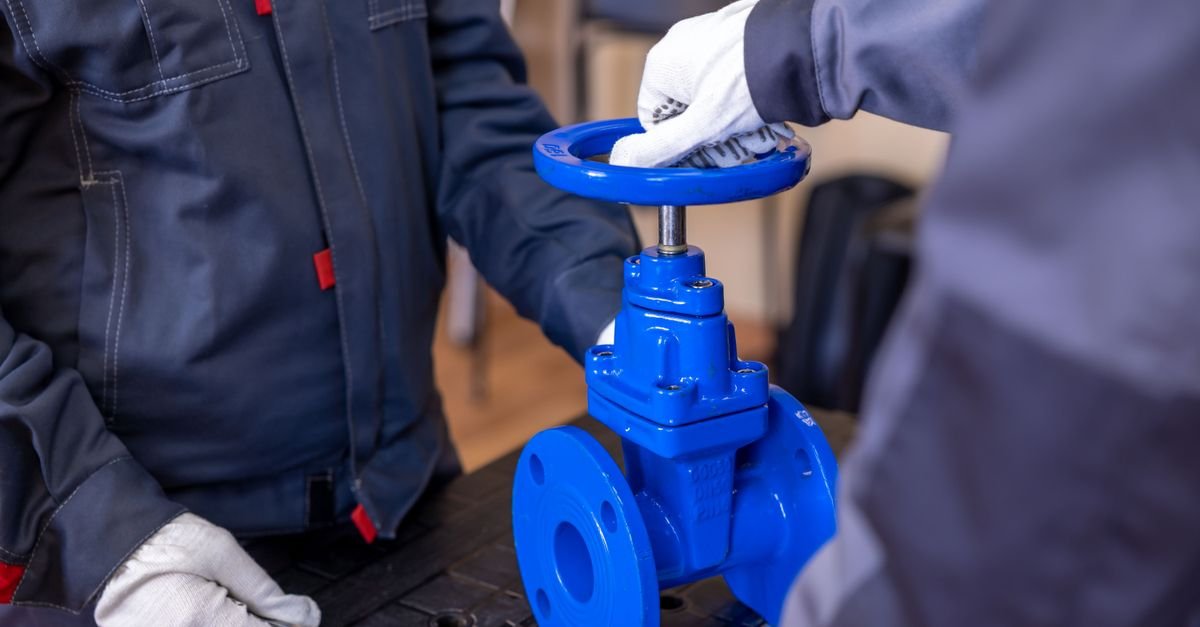
1. Loosen the lock nut and back the adjustment right off. Turn the knob or the adjusting screw counter-clockwise until the spring tension is gone. You are starting from the bottom deliberately, because coming up to a target is safe and coming down to it means you passed through everything above it first.
2. Set the trigger state for your valve type. Trapped pressure: trigger released. Flow actuated: trigger held open. Getting this backwards is why a lot of people report that adjusting “did nothing.”
3. Come up in quarter turns. A quarter turn clockwise, then read the gauge with the trigger open. Another quarter, read again. Never more than a quarter turn between readings — the travel from “slightly low” to “well past the pump’s rating” on some valves is under a full rotation, and you cannot feel that in your fingers.
4. Cycle the trigger, then lock the nut. Open and close the gun ten to fifteen times to let the spring and seat settle, re-check the reading, then tighten the lock nut while holding the adjuster still so it does not creep as you torque it.
Land your spray pressure slightly under the pump’s rated PSI rather than exactly on it. General Pump recommends leaving “a small amount of continuous bypass (approximately 5% of total flow) to minimize the pressure spike and compensate for nozzle wear” — a deliberate margin, so the valve is not sitting on its limit every time you release the trigger. Once the nut is locked, you are done: a correctly set unloader needs no further attention unless you change the pump, the nozzle size or the hose length.
Never Set It Above the Pump’s Rated PSI
The rated pressure stamped on the pump is not a marketing number with headroom hidden behind it. It is the figure the seals, the valve caps, the hose and the gun were all specified around, and General Pump’s instruction on the subject is one line: “Never exceed the maximum pressure or flow ratings of any component in your system.”
The mechanism matters, because “it might break” is not a reason anyone acts on. When the trigger closes, pressure spikes above the working figure before the unloader trips, and the higher you have set the valve the higher that spike goes. General Pump’s own analogy walks it up from roller skates to bicycles to buses to freight trains, and the failures it names are broken hoses, blown valve caps and leaking unloaders. You do not get a warning shot — you get a fitting departing at speed, or a hose that splits while you are holding it.
The second cost arrives more quietly. A valve wound past its trip point can stop bypassing properly, leaving the pump dead-heading against a closed gun with nowhere to send the water. That is how a pump head cracks over a machine that seemed fine an hour earlier.
Winding the knob to the stop does not set the machine to maximum. It sets the valve to *off*, in the sense that it has quietly stopped being a safety device and become a plug.
What Going Too Far Sounds and Feels Like
You will usually know before the gauge tells you, if you know what to listen for. The signs of an over-tightened unloader, roughly in the order they show up:
- The engine bogs or lugs when you release the trigger. The pump is no longer unloading, so the motor is suddenly fighting full system pressure instead of freewheeling.
- A hard bang or knock at the moment the trigger closes. That is the spike. A well-set valve closes with a soft thump.
- Pulsing or surging at the wand — the valve hunting between bypass and delivery because it has been set too close to the trip point with no margin.
- New weeping at the gun swivel, the hose fittings or the unloader body itself. Those joints were fine at the old pressure. They are telling you about the new one.
- A thermal relief valve venting when the pump is not hot, or a safety relief valve opening at all — that one is not a hint, it is the system’s last line doing its job.
If any of those appear, back the adjuster off a quarter turn at a time until they stop, then take another quarter off for margin. And if the machine was weak *before* you started adjusting, the unloader was probably never the cause — our walkthrough on tracing pressure washer low pressure runs the checks in the order that finds it fastest.
FAQ
Which way do I turn a pressure washer unloader valve to increase pressure?
Clockwise raises the setting, counter-clockwise lowers it, on essentially every design. Move a quarter turn at a time and read the gauge between each one. If several full turns produce no change on the gauge, you have the wrong trigger state for your valve type or the nozzle is the real restriction.
Do I adjust the unloader with the trigger pulled or released?
It depends on the type. Trapped pressure (pressure actuated) unloaders are set with the trigger released; flow actuated ones are set with the trigger held open. Using the wrong one is the single most common reason an adjustment appears to do nothing.
Can I adjust an unloader valve without a pressure gauge?
You can turn it. You cannot adjust it, because you have no way of knowing where you have landed relative to the pump’s rating. An inline liquid-filled gauge is around twenty dollars and is cheaper than one replacement hose, never mind a pump.
Why does my pressure not change when I turn the unloader knob?
Because the unloader sets a threshold, not the working pressure. Spray pressure comes from pump flow through the nozzle orifice. If the valve is already set above what the nozzle produces, turning it further changes the bypass trip point and nothing else.
How much should the pressure spike when I let go of the trigger?
A modest rise above working pressure is normal and by design — that rise is what trips the valve. What you are watching for is a spike large enough to bang, or a reading that climbs past the pump’s rated PSI. Both mean the setting is too high.
Should I adjust the unloader after fitting a new one?
Yes. A replacement unloader arrives at a generic factory setting that has never met your pump, your nozzle or your hose length. Run the full four-step procedure with a gauge before you use the machine in anger.
Set It Low, Nudge It Up, Leave It Alone
The whole job comes down to three habits: start from zero spring tension, move in quarter turns with a gauge you can actually read, and stop below the number on the pump plate rather than above it. Everything that goes wrong with unloader adjustment goes wrong because someone started from the top and worked down, or started without a gauge and worked on feel.
And once the lock nut is tight, resist the knob. It is not a volume control, it has no reward left to give you, and the next thing it can change is the shape of your hose.