Last Updated on September 25, 2026 by Umar Farooq
Power washer unloader valve repair is usually a seal kit costing less than lunch, an hour on the bench, and no new pump at all. The valve is a brass body, a sliding piston, a spring, a seat and two or three O-rings. Four of those five parts are sold in a kit. The fifth is the reason you would replace the whole thing instead.
The catch is that a failed unloader never announces itself. It hides behind symptoms that look like a nozzle fault, a supply fault or a dying pump, and plenty of healthy pumps get condemned on its behalf.
Four Ways an Unloader Tells You It Has Failed
The unloader has one job: when you release the trigger, it stops the pump fighting a closed gun by sending water back round to the inlet. When it stops doing that cleanly, the failure comes out in one of four shapes.

| Symptom | What the valve is doing | How it feels |
| Pressure spikes on trigger release | Not shifting to bypass, or shifting late | A hard kick in the gun, hose jumping, thermal relief popping |
| No pressure at all, full flow | Stuck open — recirculating permanently | Wand feels like a garden hose, pump head goes hot fast |
| Water hammer on every trigger pull | Piston hunting, seat not sealing | A knock through the machine each time you squeeze |
| Machine stuck in bypass | Will not return to pressure when you pull | Engine note never changes, no pressure arrives |
Two more tells get misread constantly. Thermal relief venting hot water after thirty seconds of idling, rather than a couple of minutes, usually means the unloader is dumping to bypass permanently — that part is doing its job and the unloader is not. And a gas engine that bogs or stalls the moment you release the trigger is being asked to drive a pump against a closed system, because the unloader never unloaded.
Before you take anything apart, be sure it is the unloader and not one of the four cheaper causes ahead of it. Our walkthrough on what to do when a pressure washer has no pressure runs nozzle, inlet screen, supply and unloader in the order that finds the fault fastest, and if the machine is merely weak rather than dead, tracing low pressure is the better starting point. It is also worth being clear which part you are holding — the relief valve explainer separates thermal relief, pressure relief and the unloader, which get muddled constantly in parts catalogues.
The Spike You Feel When You Let Go of the Trigger
To fix the valve you need to know what it is reacting to, and the mechanism is neater than most explanations make it sound. Cat Pumps puts it in one sentence: an unloader “contains a check valve that traps pressure between the closed downstream device (shut-off gun) and the unloader, causing an internal piston to open, allowing the pump to unload at low pressure.”
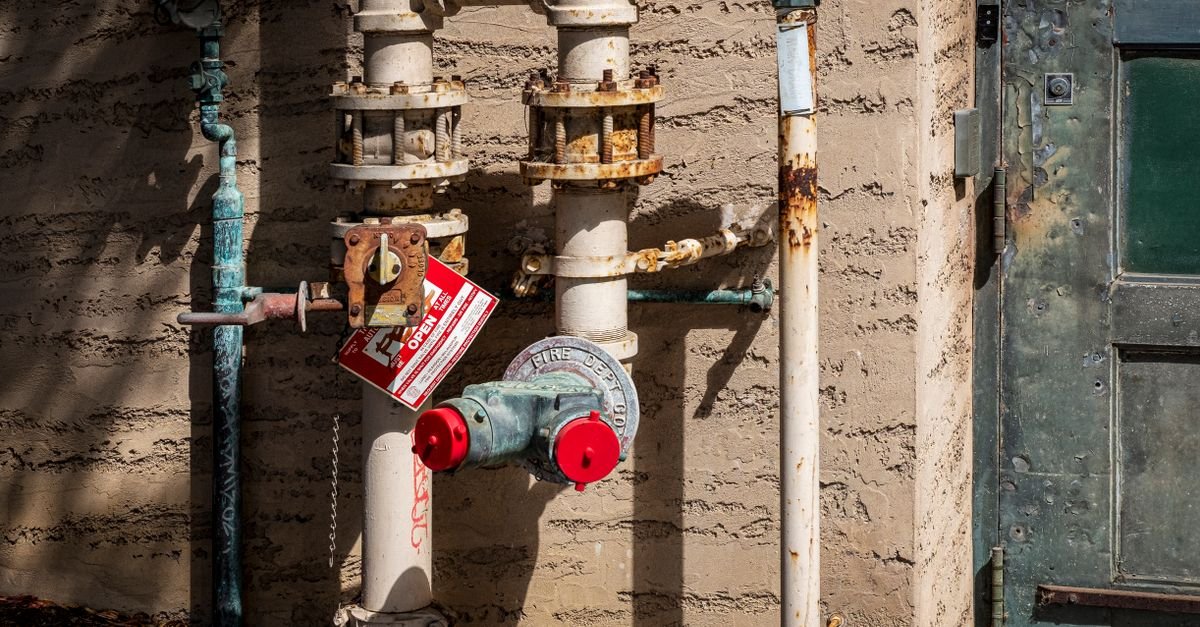
So the trapped water in your hose is not a side effect. It is the signal that holds the piston over into bypass.
That pressure is higher than your working pressure, which surprises people. A 1997 unloader patent states it plainly in its background: “When the washer gun is turned off, the trapped water pressure at the gun and in the hose between the unloader and the gun is typically 20% to 30% higher than the operating pressure.” On a 3,000 PSI machine that is 3,600 to 3,900 PSI sitting in a hose you are about to step over.
The abrupt change each time the gun opens and closes has a name, and another patent from the same era gives it: this pressure change, “also referred to as ‘water hammer’ causes wear on the pumping system and can lead to premature failure of high pressure components” — naming pump components, hoses, guns, gauges and fittings as the things it wears out.
A healthy unloader turns that violent event into a soft one several hundred times an afternoon. A tired one stops absorbing it, and everything downstream starts paying instead.
Trapped Pressure or Flow Actuated? Check Before You Order Parts
There are two families of unloader, they fail differently, and their kits are not interchangeable. Ordering the wrong one is how this job becomes two evenings.
Trapped-pressure (pressure-sensitive) unloaders are what almost every homeowner machine uses. They hold the piston in bypass with that stored hose pressure, which means the hose stays stiff when the trigger is released.
Flow-actuated unloaders react to flow stopping rather than to pressure. When the gun closes, discharge line pressure is released rather than trapped, so the hose goes soft. They are built for jobs where the trigger cycles constantly, because there is no stored charge to fight on each pull.
Here is the thirty-second identification, no tools needed. Run the machine, spray for a second, release the trigger, shut it down, then squeeze the gun. A short sharp burst means trapped pressure. A dribble means flow actuated. Match the part number on the valve body to that answer before you spend anything.
One practical consequence before you strip anything: a flow-actuated valve that will not come back to pressure often just needs the gun held open for a second on restart. It is waiting for flow nobody has given it, and no amount of new O-rings will change that.
Getting the Valve Out Without Wrecking the Manifold
The valve is brass. The pump head it is threaded into is very often aluminium. Those two metals sit in wet contact for years, and the resulting corrosion is why removal — not the rebuild — is the part of this job that goes wrong.
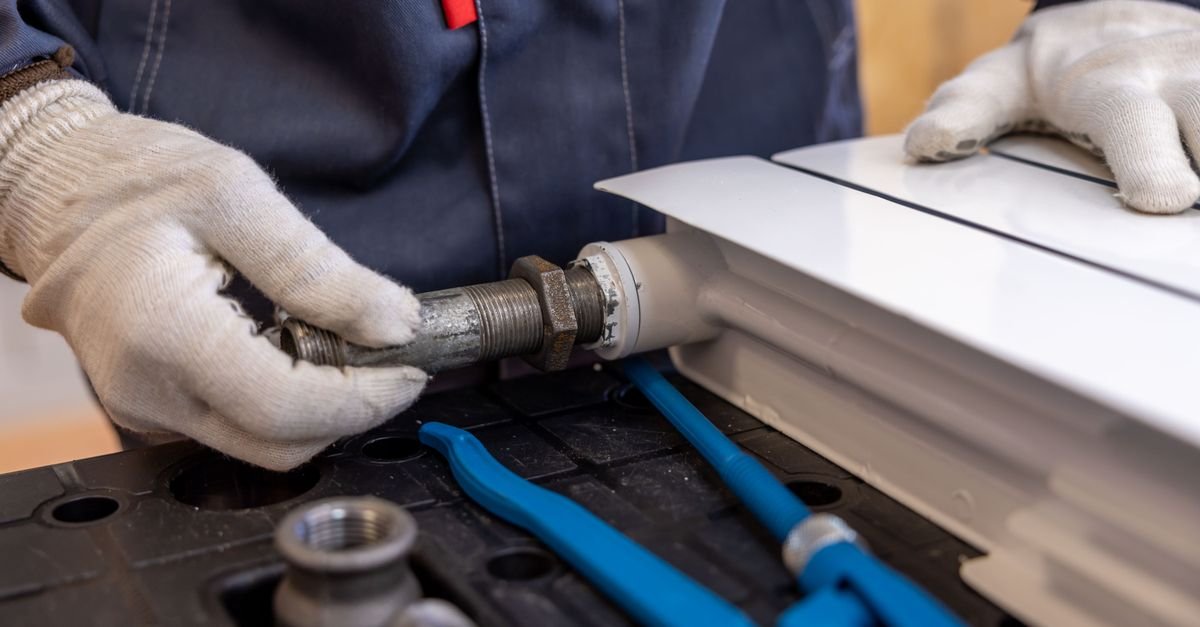
Work in this order.
1. Kill it and bleed it. Engine off or plug out, tap off, then squeeze the trigger until the gun stops producing anything. You are releasing a line charged 20 to 30 percent above working pressure. Do it every time.
2. Mark the adjuster, then back it off. A paint-pen line across the knob and body, or count the turns onto masking tape — the valve is going back into the same hole at a setting you already liked. Then wind the knob fully counter-clockwise. A compressed spring behind a cap you are about to unthread is not a surprise anyone enjoys twice.
4. Photograph the plumbing. The bypass hose, the inlet feed, which port faces where. A bypass hose refitted backwards gives you a machine that will not build pressure at all, and it happens more than you would think.
5. Use the flats, not the cap. An open-end or flare wrench on the hex flats of the body. Never a pipe wrench, never an adjustable jaw that rounds brass, and never the adjusting cap as a lever — you will shear it off the stem.
6. Penetrant and patience. Soak the joint for an hour and try again. Gentle warmth from a heat gun helps stubborn scale; an open flame does not, because there are O-rings and often plastic within a few centimetres.
7. Support the head. Brace the pump, not the frame. Levering against an aluminium manifold is how threads get stripped, and a stripped pump head ends the machine far more decisively than a failed unloader ever could.
Note which way it sealed, because that decides how it goes back. A tapered NPT thread seals on the thread and wants two to three clockwise wraps of PTFE tape, kept off the first thread. A straight thread seals on an O-ring face, needs no tape at all, and will crack a casting if you keep turning after the O-ring has landed. Anti-seize on the threads costs nothing and buys you an easy job next time.
Power Washer Unloader Valve Repair: The O-Ring and Spring Rebuild
Strip it over a light-coloured tray, laying every part out left to right in the order it came off. There are fewer than a dozen pieces and at least two are small enough to vanish into a garage floor permanently.
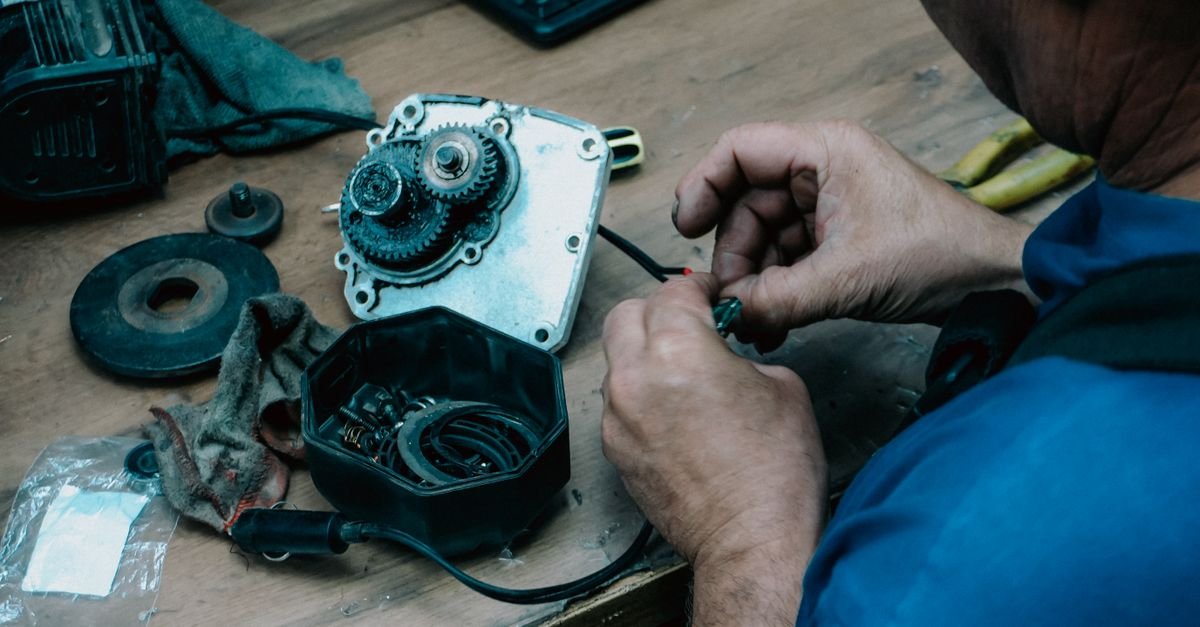
What actually fails, in order of likelihood:
- The O-rings. They harden, take a square set, and stop sealing the piston in its bore. This is the cause most of the time, and it is the cheapest one.
- Scale and grit on the piston and bore. Hard water leaves a chalky film that turns a sliding fit into a sticking one. A valve that works when cold and sticks when hot is usually this.
- The seat. A brass or stainless seat that has been hammered by a charged line develops a groove. Drag a fingernail across it — if you can feel a ridge, sealing is over.
- The spring. Rust, or a set that has shortened its free length. Lay the old spring beside the new one. If yours is visibly shorter, it has been quietly lowering your pressure for a season.
Clean everything in warm water with a little white vinegar for the scale, then a soft brush — a toothbrush, not a wire brush, which will score a sealing surface faster than the water ever did. Rinse, dry, and inspect the piston for scoring along its length. Lubricate new O-rings with silicone grease, not petroleum jelly and not motor oil: petroleum swells nitrile seals, which is a slow way of causing the fault you just fixed.
Reassemble in reverse, refit with the spring backed fully off, and set the pressure from the bottom up rather than winding straight back to the old mark. You creep up on the number with a gauge fitted, never down from the top.
The opinion I will push here: most unloaders that get replaced were never broken. They were dirty, and they got dirty because the machine spends its life in bypass. Every minute the engine runs with the trigger released, the same water circulates through that valve, heating and laying scale on the one surface that has to slide. Two minutes is the working limit — past that, switch it off. A machine shut down between sections can go years without needing this repair, which is a duller tip than buying parts and a considerably cheaper one.
When Rebuilding Is the Wrong Call
A seal kit costs a fraction of a complete unloader assembly, which is why rebuilding is the default answer. I am not going to quote you two dollar figures, because they move with the model and the month — price both against your own part number and the gap speaks for itself. What is worth knowing is the four situations where the kit is a waste of an evening.
Replace, do not rebuild, when:
- The body is cracked or weeping from the casting. Not from a joint — from the brass itself. Nothing in a kit fixes that.
- The seat is grooved and not a replaceable part. If the ridge you can feel is machined into the body rather than sitting in a removable insert, the valve is done.
- The piston bore is scored. Fresh O-rings sliding over a scratched bore will fail on the same timescale as the ones you took out.
- There is no kit. Many consumer axial-pump machines integrate the unloader into the pump head with no serviceable parts published at all. Search your model number for a kit first; if nothing comes up, that is your answer rather than a reason to improvise.
There is a bigger version of this decision behind it. You are not really buying a pressure washer, you are buying a pump with an engine attached. Axial wobble-plate pumps are sealed and were never meant to be opened; triplex pumps have serviceable valves and seals and outlast several engines. If you own an axial machine several seasons old and the unloader is the third failure this year, the valve is not the part making the decision.
Check the pump oil before you commit either way. Milky or grey oil means water has crossed the seals, and no unloader repair improves that outcome.
FAQ
How do I know if the unloader is bad or if it is the pump?
Heat and noise separate them. A stuck unloader runs hot and stays quiet, because the circulating water sheds its energy as heat. Failing pump valves knock or hammer under load and usually come with milky oil. Check the cheap causes first either way — a worn nozzle and a blocked inlet screen produce a near-identical loss of pressure.
Can you repair a power washer unloader valve, or do you have to replace it?
Most can be rebuilt. The standard kit contains O-rings, a spring and sometimes a seat insert, and it fixes the overwhelming majority of failures. Replace the whole valve if the body is cracked, the piston bore is scored, the seat is machined into the body, or no kit exists for your model.
How do I free a stuck unloader valve without taking it apart?
With the machine off and the line bled, work the adjusting knob through its full travel several times to shift the piston in its bore, then run the machine and cycle the trigger a dozen times. That frees a valve held by light scale. It does not fix hardened O-rings, and if the symptom returns within a session, the valve is telling you to open it.
Why does my pressure washer surge on and off after fitting a new unloader?
Almost always the setting rather than the part. A replacement unloader does not arrive pre-adjusted, and one set too close to the pump’s bypass point hunts between pressure and bypass. Back it fully off and bring it up gradually with a gauge fitted. Air drawn in at the inlet surges the same way, so check the supply side too.
Does a stuck unloader damage anything if I keep using the machine?
Yes, on both failure modes. Stuck open, it circulates water that heats past the point where pump seals soften, so you cook the packings. Stuck closed, the pump drives into a dead-headed system and the pressure has to go somewhere — a hose, a fitting or the pump head.
Is power washer unloader valve repair worth doing yourself?
On a homeowner machine, yes. The tools are an open-end wrench, a pick and a tube of silicone grease, and the seal kit is the cheapest part in the whole failure. A workshop adds diagnosis and bench time on top of the same parts. The job that is not worth doing on your own bench is the pump.
Clean the Piston Before You Condemn the Pump
The unloader is the one part on a pressure washer that takes a beating on purpose. It absorbs a pressure change on every trigger pull so your hose, gun and pump head do not have to, and it wears out doing exactly that. It is not a defect. It is the part working as designed until the O-rings give up.
So before you start pricing pumps, take it out, look at the piston, and feel the seat with a fingernail. Nine times out of ten the most expensive thing about this repair will have been the hour you spent worrying about it.