Last Updated on September 25, 2026 by Umar Farooq
A new pressure washer pump with no pressure is almost never a faulty pump — it is nearly always air that was never purged, a shaft key that did not seat, or an unloader carried over from the machine you just took apart. You have already eliminated the expensive suspect by buying it. What is left is the fitting, and the fitting is free to fix.
That is a genuinely annoying place to be standing. You have spent a morning and a hundred-and-something dollars, the bolts are torqued, the hose is on, and the wand is producing exactly the same disappointing dribble as before. The instinct is to assume the pump arrived dead. Pumps do arrive dead occasionally, but it is a long way down the list, and everything above it costs nothing to rule out.
New Pressure Washer Pump, No Pressure: The Order to Work In
Work this top to bottom. It is ordered by cost, not by likelihood, and the two happen to agree here — the free checks are also the ones that fix most machines.
| # | Check | Time | Cost |
| 1 | Purge the air with the nozzle off | 3 min | Nothing |
| 2 | Confirm the shaft key seated and the pump pushed fully home | 10 min | Nothing |
| 3 | Back the unloader off and reset it | 15 min | Nothing |
| 4 | Fit a tip sized for the new pump’s GPM | 2 min | A few dollars |
| 5 | Check the pump’s rated GPM and RPM against the engine | 5 min | Nothing |
| 6 | Time the tap into a bucket | 2 min | Nothing |
| 7 | Open the manifold and audit your own rebuild | 45 min | Nothing, and some humility |
Step one is first because it costs three minutes and resolves more of these than everything below it combined. A pump straight out of the box has never had water through it. Nobody at the factory primed it on your behalf.
If your machine is producing no water at all rather than no pressure, that is a different fault with a different order — a pump that will not prime, or a supply that is blocked outright, belongs in its own diagnosis rather than here.
A Pump That Has Never Been Wet Is Full of Air
Air compresses. Water does not. A plunger arriving at the top of its stroke against a pocket of air squeezes the pocket smaller and achieves nothing else, which is why an air-locked pump produces convincing flow and no force behind it. The pump is working perfectly. It is just working on the wrong fluid.
The manufacturer’s own remedy for this is refreshingly unglamorous. The instruction manual shipped with OEM Technologies horizontal axial replacement pumps lists “air is trapped inside pump” against the symptom “pump fails to prime”, and the fix is to “disconnect discharge hose from pump, flood suction hose, restart pump and run pump until all air has been evacuated”.
Here is that as a sequence you can follow in the driveway:
1. Machine off. Garden hose connected, spigot open all the way — not most of the way.
2. Take the high-pressure hose off the pump outlet. Let water run out of the outlet port until it stops burping and runs clean and steady. Thirty seconds is usually enough.
3. Reconnect the high-pressure hose. Fit the gun and wand, but leave the nozzle off entirely.
4. Squeeze and hold the trigger with the machine still off. Water should come through the wand as a fat, unimpressive stream with no spitting.
5. Keeping the trigger held, start the machine. The stream should get noticeably angrier within a few seconds.
6. Only once it is steady, shut down, fit the nozzle, and try again.
Two details people skip. The trigger stays open during starting, which gives the trapped air somewhere to leave rather than somewhere to hide. And the nozzle stays off, because a tip is a deliberate restriction and a restriction is exactly what you do not want while you are trying to flush something out.
If the stream never steadies — if it keeps spitting indefinitely, or the pump chatters — you are not holding trapped air, you are drawing a continuous air leak through the inlet. General Pump’s service manual is blunt about the consequence: “air leaks in the inlet plumbing will cause a reduction of outlet pressure, noisy pump operation, and excessive wear and tear on the pump”. Check the inlet fitting’s rubber washer, the threads at the pump inlet, and whether the new pump’s inlet port was nipped up with thread sealant. An inlet joint that seals against water at zero pressure will still happily pass air under suction.
Did the Shaft Key Stay in Its Slot?
This is the one that makes people feel foolish and should not. The key is a small rectangle of soft steel that sits in a groove in the engine shaft and transmits every bit of torque the engine makes. Slide the pump on and the key can lift, tilt, or walk out of its slot entirely, and you will not see it happen because the pump body is covering it.
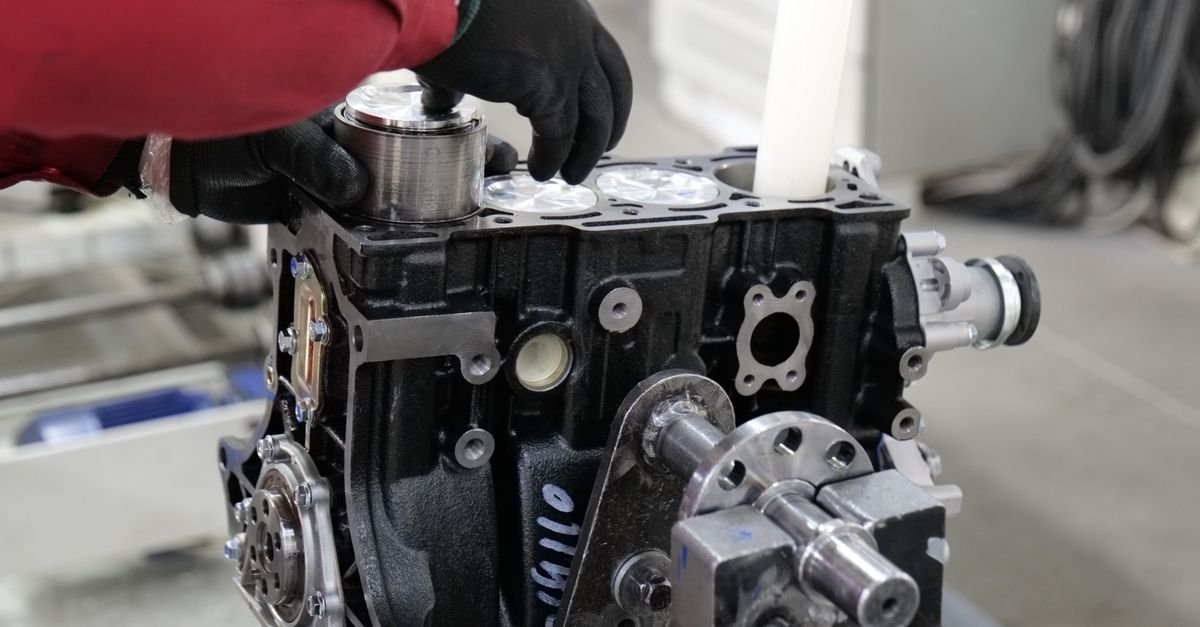
What a displaced key gives you depends on how far it moved. Fully out, the shaft spins inside the hollow pump shaft and you get no flow at all. Partly engaged, the pump turns but the plungers never reach full stroke, and you get flow with a fraction of the rated pressure. That second version is the one people misdiagnose, because the machine is visibly doing something.
Water Cannon’s replacement instructions cover the seating sequence properly: make sure the keyway fits tight in the shaft slot, pull the recoil rope until the keyway is at the top, turn the hollow shaft on the pump with a wrench or a metal ruler so the keyways line up, and check with a finger that the key has not slipped out as the pump slides on. Rotating the keyway to the twelve o’clock position before assembly is the whole trick — gravity stops fighting you.
Two more things in this family:
The pump not pushed fully home. The OEM axial manual says to “align the two key ways and push the pump completely onto the engine”, then torque the four bolts evenly to 15 to 17 ft-lbs. A pump held a few millimetres proud by a stubborn key sits crooked on the flange, the plungers run at an angle, and stroke goes with it. If the flange face is not flat against the engine before you start tightening bolts, stop and take it off again.
The set screw. If your pump has one, it clamps the hollow shaft onto the key. Fit the Allen key into the set screw *before* the pump goes on, so you are not fishing for it afterwards, and tighten it only once the pump is fully seated.
A broken or crumbled coupler on a belt-drive or indirect-drive machine produces the same symptom by a different route, and that is a separate job.
The Unloader You Carried Over Never Met This Pump
Plenty of replacement pumps ship bare, and the sensible-looking move is to unscrew the unloader from the old pump and thread it into the new one. Sensible, and the reason a good number of new pumps appear to make no pressure.
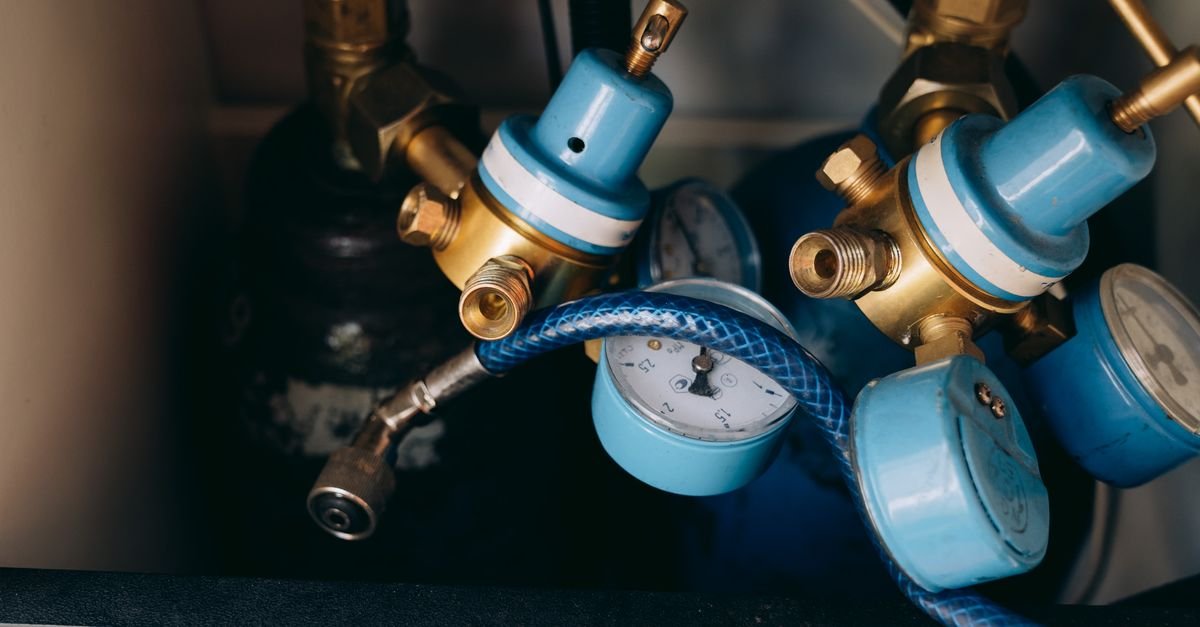
The unloader is a spring-loaded piston that decides when flow stops going to your wand and starts going round in a circle back to the pump inlet. The spring tension is what sets that decision point, and it was set against the old pump — often a worn one, sometimes wound down over the years to stop the machine hammering. Bolt that setting onto a healthy pump and the valve opens far too early. Everything goes to bypass, the wand gets the leftovers, and the pump head warms up within a minute or two because recirculating water has nowhere to put its energy.
A new unloader is no better out of the box. It arrives at a generic factory setting that has never met your pump, your nozzle or your hose.
Either way the answer is the same: back the adjusting screw right off until there is no spring preload at all, then bring it up in quarter turns with a gauge in the line until you reach the pump’s rated pressure and stop there. Do not go past the number stamped on the pump plate to chase a symptom — the plate is the pump’s limit, not a suggestion, and the hose and gun downstream are rated around it. The full procedure, including which type of unloader you are holding, is in the guide to unloader valve adjustment.
One diagnostic shortcut: a hot pump head with a cold, weak spray is the bypass signature almost every time. A cool head with a weak spray points elsewhere.
Nozzle Numbers Are Sized to Flow, Not to Brand
Nozzles are stamped with two things: a spray angle and an orifice number. Almost everybody reads the angle and almost nobody reads the number, which is a problem when the pump underneath has just changed.
General Pump states the relationship plainly — pressure “is the result of forcing a known volume (or flow) of water through a known size orifice (spray tip)”, and “you must know your output GPM and your desired output PSI to properly select a spray tip size”. The nozzle number is the tip’s capacity in GPM at 4000 PSI, and the manual’s worked example is that 1000 PSI at 4.0 GPM calls for a number 8 tip.
The practical version: an orifice sized for a machine with more flow than yours will pass your flow through without resisting it, and resistance is the entire mechanism by which pressure exists. Put a 4 GPM machine’s tip on a 2.5 GPM pump and the gauge falls off a cliff. Go the other way — a tip too small for the pump’s flow — and you over-pressurise the pump and components, which is a more expensive kind of wrong.
So if the new pump has a different GPM rating from the old one, the old nozzles are the wrong nozzles. Order the set that matches the new number. And before you order anything, check the obvious: a black soap tip fitted by mistake drops pressure deliberately, because a downstream injector cannot draw at high pressure. An adjustable dual-lance left pulled back does the same thing. Neither is a fault. Check the number stamped on the tip against the pump plate before you assume either one is faulty.
When the Pump Outruns the Engine Bolted to It
Here is my strong opinion on replacement pumps, and it runs against how they are sold: buy the pump that matches the engine you already own, not the one with the bigger numbers in the listing. A pump is rated at a flow and a pressure it can reach *if something turns it fast enough and hard enough*. The engine is what decides whether that happens.
The mechanism is in two parts, and General Pump publishes both. First, flow: “the flow or volume produced in a pressure washer system is determined by the speed that the pump shaft is rotated (RPM). The faster the shaft is rotated, the higher the output volume.” A direct-drive pump turns at engine speed, so if the engine will not hold 3400 RPM under load, the pump cannot make its rated GPM. The OEM axial manual lists “low engine RPM” as a direct cause of low pressure and gives the remedy as “increase engine RPM to 3400”.
Second, power. General Pump’s motor-sizing chart is stated in electric horsepower with an explicit instruction to “multiply by 1.8” for gas engines. Run the arithmetic and the mismatch becomes obvious:
| Pump rating | Electric HP required | Gas HP required (×1.8) |
| 2.5 GPM at 3000 PSI | ~2.6 | ~4.7 |
| 3.0 GPM at 3000 PSI | 3.09 | ~5.6 |
| 4.0 GPM at 3000 PSI | 4.20 | ~7.6 |
A 6.5 HP engine will drive a 3 GPM, 3000 PSI pump with a little in hand. Ask the same engine for 4 GPM at 3000 PSI and it is roughly a horsepower short, so it bogs under load, RPM falls, flow falls with it, and the machine settles at some pressure well below the number printed on the pump. Nothing is broken. You have simply bought a pump the engine cannot afford. General Pump’s own phrasing is “be sure to run a gas engine fast enough to supply required horsepower, but do not exceed manufacturer’s specifications.”
Check three things against the engine before blaming the pump: shaft diameter (3/4 inch and 1 inch are both common and neither is forgiving), hollow versus keyed, and rated RPM. Then check GPM and PSI against what the engine can actually produce. The rundown of which pump families exist and what each one is built for is in the guide to pressure washer pumps.
Rebuild Mistakes Nobody Puts in the Instructions
If you rebuilt the pump rather than replacing it, this section is the one worth reading twice, and it is not a telling-off. Kits arrive as a bag of small parts with a diagram drawn at about the size of a postage stamp. Things get missed.
A valve assembly left out or left upside down. Most triplex manifolds hold six valve cartridges — three inlet, three outlet — and they look close enough to identical to be swapped. One valve missing or inverted means a chamber that fills and empties freely instead of discharging, which reads on the wand as flow with almost no pressure. Lay the parts out in the order they came off, and count them back in.
A pinched O-ring. Drop a manifold onto a seal that has crept out of its groove and you trap it between two faces. It looks assembled. It leaks internally, and at 3000 PSI a leak of that kind does not drip visibly, it just quietly returns water to somewhere it should not be. Silicone grease on every O-ring before assembly is thirty seconds well spent.
A seal fitted backwards. High-pressure seals are directional — the grooved side faces the water. Backwards, they will not seal at any pressure, and you will spend the evening convinced the kit was faulty.
Uneven manifold torque. Aluminium manifolds warp if you crank one corner down while the opposite corner is still loose. Cross pattern, quarter turn at a time, to the figure in your pump’s manual.
A cratered valve seat the kit cannot fix. If the old pump was cavitating, the seats are eroded rather than worn, and a new valve dropped onto a pitted seat leaks the moment it is torqued. Catch a fingernail on the seat and the manifold is finished. If the seat is rough enough to catch on, no kit in the bag will save that manifold.
The Garden Hose Your Old Pump Was Covering For
The last one is the sneakiest, because the part you replaced was hiding it. A worn pump draws less water than a healthy one. Your supply may have been marginal for two seasons and never shown it, because the old pump was never asking for its full rated flow.
Fit a new pump — especially one with a higher GPM rating than the old one — and it asks for everything it is rated for, immediately. A five-eighths hose on a long run, a half-inch hose of any length, a kink behind the wheel, an inline filter nobody has changed, or a Y-splitter with one side half shut will all now show up as a machine that cannot build pressure.
The test takes two minutes and needs a bucket. Run the garden hose into a container of known volume and time it. A five-gallon bucket filling in under a minute is 5 GPM, which comfortably feeds a 2.5 GPM pump. If it takes two minutes you have 2.5 GPM at the tap and no margin at all, and a starved pump is also a cavitating pump. Also pull the inlet screen on the new pump and hold it to the light — screens are shipped fitted, and grit from the old plumbing finds them fast.
FAQ
Why is my pressure washer not building pressure after replacing the pump?
In order of likelihood: trapped air that was never purged, a shaft key that did not stay seated, an unloader carried over at the old pump’s setting, a nozzle sized for a different flow rate, and an engine that cannot hold 3400 RPM under the new pump’s load. Work them in that order, because the first three cost nothing.
Do you have to prime a new pressure washer pump?
Yes. A pump from the box has never had water through it, and the air inside it will not leave on its own. Run water through with the machine off and the nozzle removed until the stream is steady, then start the engine with the trigger still held. Skipping this is the single most common reason a new pump appears not to work.
Do I need a new unloader valve when I fit a new pump?
Not necessarily, but you do need to reset whichever one you use. A transferred unloader carries the spring setting from the old pump, and a new one arrives at a generic factory setting. Back the adjustment fully off, then bring it up in quarter turns with a gauge fitted until you reach the pump’s rated pressure.
Can I put a higher GPM pump on my existing pressure washer engine?
Only if the engine has the power for it. Horsepower demand rises with both flow and pressure, so a 4 GPM pump at 3000 PSI needs roughly 7.6 gas horsepower against about 5.6 for a 3 GPM pump at the same pressure. Put the bigger pump on a 6.5 HP engine and it bogs, RPM drops, and you get less pressure than you started with.
How do I know if the shaft key is seated correctly?
Take the four mounting bolts out and pull the pump off. If the key falls out, sits tilted, or has walked along the groove, that was your fault. Refit it with the keyway rotated to the top so gravity holds it, line up the hollow shaft, and keep a finger on the key as the pump slides on. The pump flange must end up flat against the engine before any bolt is tightened.
My new pump makes pressure for a few seconds and then drops. Is that the same problem?
Probably not. Pressure that arrives and then fades usually points at supply or bypass rather than fitting, and pressure that comes and goes rhythmically is a different symptom again. Start by timing the tap into a bucket to confirm the supply can keep up with the pump’s rated flow, because a new pump often asks for more water than the old one did.
Fitting Faults Outnumber Faulty Pumps
Every item on this list is something that happened between the box and the bolts, not something wrong with the casting inside. That is genuinely good news, even though it does not feel like it while you are standing in the driveway with oily hands and a wand that still will not do anything.
Purge it first. Then take the four bolts out and look at the key, because ten minutes there has saved more people than any part they could have ordered. And if the machine had weak pressure before the pump came off, be honest about whether the pump was ever the problem — the diagnosis for a machine with flow but no pressure starts at the spigot, and the pump comes last for a reason.