Last Updated on September 25, 2026 by Umar Farooq
Pressure washing house for painting is a different job from washing a house to make it look clean, because the paint does not care how the wall looks — it only cares what it has to stick to. A wall can come out bright, even and photogenic and still be a coat of powder, a colony of live mildew and eleven gallons of trapped water, which is three separate reasons the new paint will let go inside two summers.
That is the whole distinction. Washing for appearance is finished when the dirt is gone. Washing for adhesion is finished when nothing is left on the wall that the paint could bond to *instead* of the substrate. Those are not the same finish line, and most of the disappointment people have with an exterior repaint comes from crossing the first one and stopping. The whole-house sequence — which elevation to start on, where the water ends up — is covered separately in how to power wash your house. This page is only about the decisions that change because paint is going on afterwards.
What Pressure Washing House for Painting Has to Remove
There are five things on an exterior wall that will cost you a paint job, and only one of them is dirt. Knowing which one you are looking at decides whether you reach for a detergent, a scraper, a mildewcide or a calendar.
| What is on the wall | How it kills the paint | What actually removes it |
| Dirt, pollen, road film | Sits between paint and substrate as a loose layer | Detergent, dwell time, low-pressure rinse |
| Chalk (degraded binder) | A powder release layer — paint bonds to dust | Detergent plus agitation, rinsed until a cloth comes back clean |
| Mildew and algae | Alive; grows back through the new film | A mildewcide that kills it, not pressure that moves it |
| Loose and flaking paint | No anchor; the new coat leaves with the old one | A scraper and sandpaper, before the wash |
| Trapped moisture | Blisters and peels from behind | Time, and something that proves it |
Notice how few of those are solved by pressure. Exactly one — surface dirt — responds to the thing most people are about to spend Saturday doing. The rest need chemistry, a hand tool, or patience.
Scrape Before You Wash, Not After
Here is the opinion, and it runs against almost every sequence published on this topic: scrape the loose paint off before the machine comes out, not after the wall has dried. Nearly every guide has it the other way round — wash, wait, then scrape whatever lifted. That order costs you a day and a substrate.
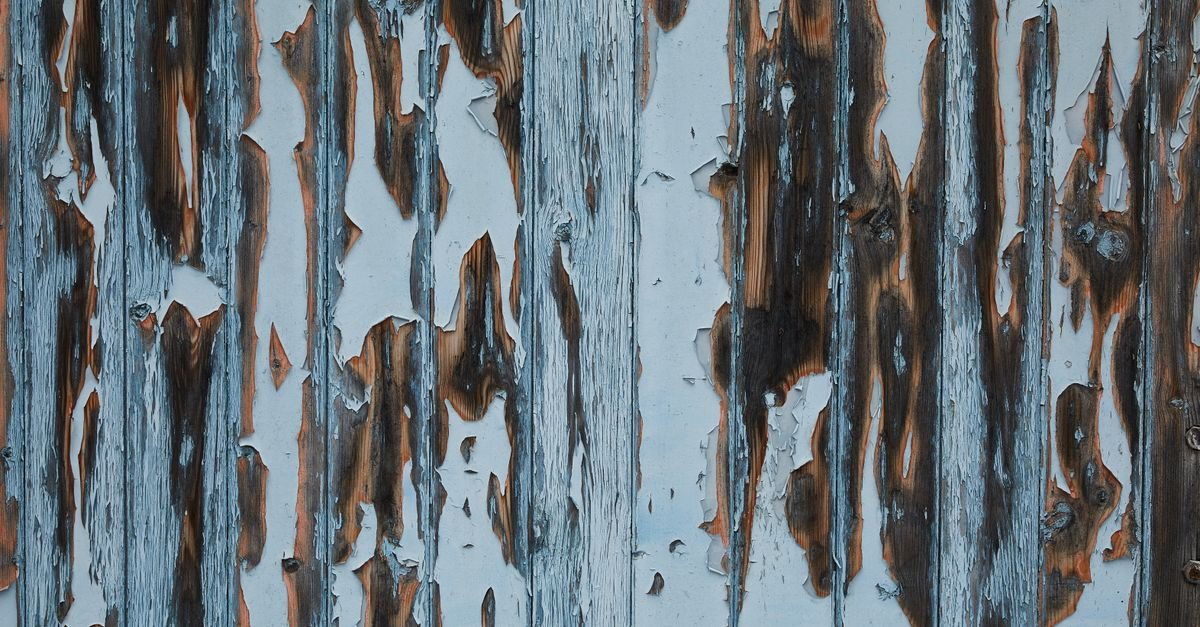
The mechanism is simple. Paint that is already loose will come off under a jet, and the pressure it takes to remove it is well past the pressure that damages what is underneath. Fine Homebuilding puts it about as plainly as it can be put: “Pressure washers are for washing. They are not for removing paint,” and the same piece is explicit that “loose and flaking paint should be scraped and sanded, and damaged siding and trim should be repaired before the house is washed” (Fine Homebuilding, The Art of Pressure Washing). Sherwin-Williams gives the same instruction from the coatings side: “The best way to remove the old paint is by scraping and sanding to bare wood. Be careful not to be too aggressive or you’ll damage the siding” (Sherwin-Williams, exterior surface preparation).
There is a second reason, and it is the one nobody mentions: wet paint scrapes badly. Soaked film goes gummy, smears rather than flakes, and drags softened wood fibre off with it. Dry paint chips cleanly and takes the scraper where you point it. Scraping first also means the wash carries your chips and dust away for free.
None of which means one pass. The wash will always find more — edges that looked sound, a gable that was holding on out of habit. Expect a second, much smaller scrape after the wall dries. The sequence is scrape, wash, dry, spot-scrape, prime; it just is not scrape *instead of* wash. And if the house predates 1978, you are now making paint chips before you have tested anything, so read the lead section below before you pick up a scraper.
Chalk Is the Reason the Last Coat Only Lasted Three Years
Chalk is the failure mode that catches careful people, because a chalked wall does not look damaged. It looks faded. Sherwin-Williams defines it as “the formation of fine, white powder on the surface of exterior paint film due to weathering” — ultraviolet light breaks down the binder holding the pigment together, the binder goes, and the pigment stays behind as loose dust (Sherwin-Williams, paint chalking). Oil-based and older alkyd films chalk considerably more than modern acrylics.
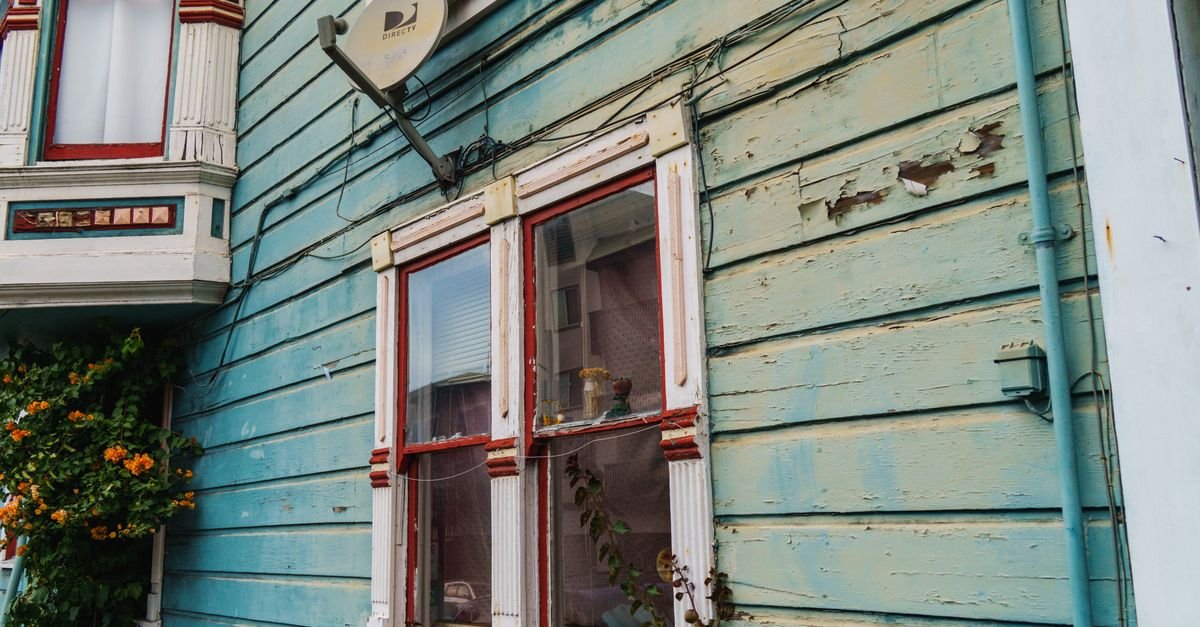
Now think about what that means for the next coat. Your new paint is not bonding to the old paint — it is bonding to a layer of powder, and that powder is bonded to nothing in particular. You can buy the best exterior acrylic on the shelf, apply it in perfect weather, and you will have glued a beautiful coating to dust. It holds until the first hard freeze-thaw cycle pulls on it, then comes away in sheets with the old colour on the back, which is how people conclude the paint was defective.
The test takes four seconds. Rub a dry palm or a dark cloth firmly across the wall in a shaded area. Nothing on the cloth means you are fine. A faint tint means light chalking. A palm that comes away visibly loaded with colour means the surface needs proper removal, not a rinse.
That distinction matters, because water on its own does not fix chalk — it floats some of it, then puts it back down as the wall dries, which is why a chalked house can look washed and still fail the cloth test. What removes chalk is detergent plus agitation: house wash applied bottom-to-top through the black soap nozzle, five to ten minutes of dwell without letting it dry, a soft brush on the worst courses, and a low-pressure rinse top-to-bottom. Sherwin-Williams is direct about the standard: “Any surface that has a chalky feel should be cleaned to remove the chalk before painting.”
Then test again. If chalk still transfers after a proper wash, the answer is a bonding primer or conditioner formulated for chalky substrates — not more pressure. Painted wood generally tops out around 500–800 PSI with a 40-degree tip, which is a small fraction of what a gas machine puts out, and turning the machine up to solve a chemistry problem is how a chalking job becomes a siding replacement job.
A Rinse Relocates Mildew, a Mildewcide Ends It
The black or green speckling on the shaded side of the house is not dirt, and this is the single most common misdiagnosis in exterior prep. Mildew is alive. Pressure removes the part of the colony you can see and leaves the rest in the pores, the lap joints and the grain, where it is perfectly happy. Paint over that and it grows back up through the new film, usually within a year, on a wall that cost you a fortnight.
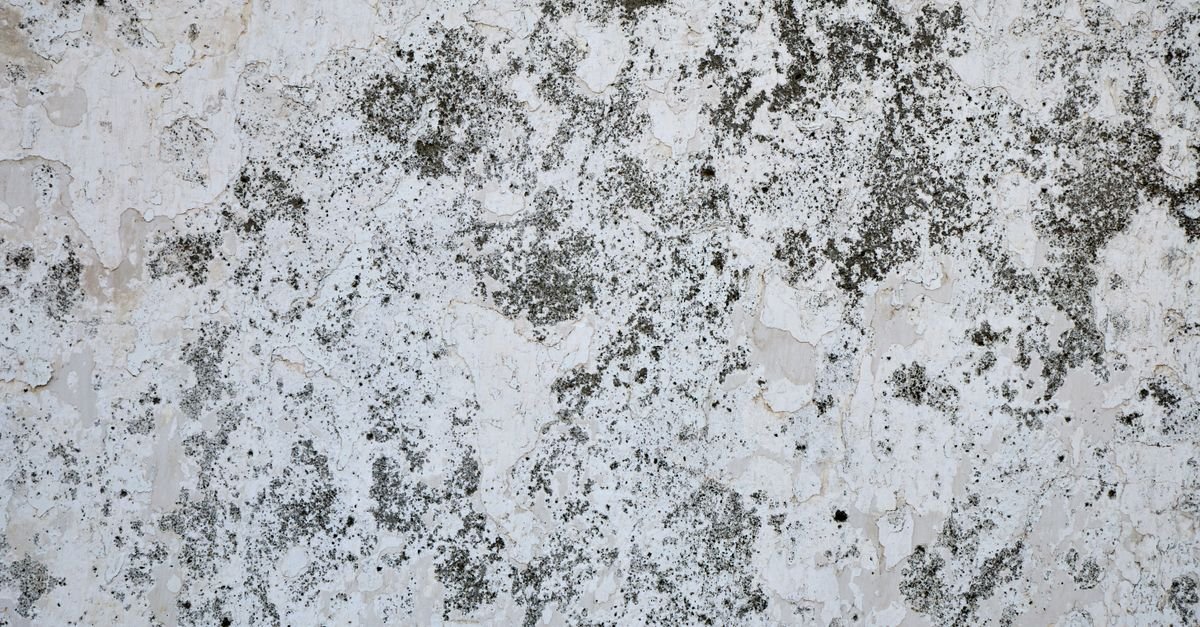
Telling mildew from dirt is a one-drop test. Put a drop of household bleach on a dark spot and wait a minute. Dirt sits there unimpressed. Mildew goes pale almost immediately. Do that in three or four places before deciding what the wall needs, because a house often has both and they need different treatments.
For the mildewcide itself, Sherwin-Williams specifies “a solution of one quart household bleach in three quarts of water. Apply the solution to the area with mildew and then rinse off with water” — a 1:3 mix. Fine Homebuilding’s working ratio is the same one stated the other way round: “I apply a 3-to-1 water to bleach solution before I pressure wash.” Two independent sources landing on the same dilution is about as close to consensus as exterior prep gets.
Three practical rules go with it. Apply bottom-to-top so the solution does not run down dry wall and streak. Keep it wet for the full dwell — sodium hypochlorite does nothing once it dries, and detergent that dries on a wall leaves a mark harder to remove than the mildew was. And never mix it with anything acidic; ATSDR’s medical management guidelines for chlorine state plainly that sodium hypochlorite releases chlorine gas when it comes into contact with acids, and the acidic concrete cleaner sitting in the same shed is a genuinely bad neighbour. Soak the plantings before and after. The full mixing-and-surfactant picture is in power washing chemicals.
How Dry Is Dry Enough for Primer?
This is where the job gets lost, because drying is the only step with no visible progress and the whole thing is finished except for waiting. The figure the trade works to is a substrate at or below roughly 15% moisture content before coating. I went looking for the single primary specification that owns that number and did not find one — it appears in manufacturer prep sheets and in every moisture meter’s scale, which is a reasonable consensus but not a citation, so treat 15% as the working threshold rather than a law of physics.
Rough timings, assuming dry weather and no rain in between:
| Substrate | Typical wait before primer |
| Vinyl or fibre cement | About 24 hours |
| Sound painted wood | 24–48 hours |
| Bare or freshly scraped wood | 48–72 hours |
| Permanently shaded elevations | Add a day |
| Humidity above about 70% | Roughly double it |
Where you test matters more than when. Three rules I would not skip:
- Test where the sun does not reach. The south wall is dry by lunchtime and tells you nothing. The north side, the porch ceiling and the wall behind the shrubs are the last places to dry and the first places to peel.
- Test the horizontals and the end grain, not the face. Window sills, the bottom edge of each clapboard, the underside of the laps and any cut end you exposed while scraping. End grain drinks water at many times the rate of a flat face and gives it back slowly. A board can read 11% across the face and 20% at the lap.
- Use a pin meter on the scraped patches specifically. Bare wood you exposed on Saturday is the wettest thing on the building, and it is also the only place the primer has to do real work.
If you over-pressured anywhere and drove water behind the cladding, no surface reading will find it. That water is on its own schedule, a week or more, and it is the reason the pressure limit on a prep wash sits below the limit on a cleaning wash. Paint traps whatever is behind it.
Houses Built Before 1978 Change the Plan
If the house was built before 1978, assume lead paint until a test says otherwise, and understand that scraping and washing are exactly the two activities that disturb it. The EPA’s Renovation, Repair and Painting rule exists because of where the chips and dust end up — soil, porches, the strip of lawn under the wall where children sit. Contractors working for hire on pre-1978 housing must be certified under that rule and follow its containment and cleanup requirements.
Homeowners working on their own home are generally exempt from the rule itself, and I would read that exemption carefully — it is a legal exemption, not a biological one. The dust behaves identically whether or not a certificate was involved, and the exemption narrows if you rent out part of the property, run childcare there, or are renovating to flip. What it means in practice for a prep wash:
1. Test before you scrape. Swab kits give a fast indication; a lab analysis of a paint chip gives a real answer.
2. If it tests positive, do not pressure wash flaking paint. A jet atomises and scatters the chips across a wide area, and the rinse water becomes a disposal problem that nobody plans for.
3. Use wet methods and contain the ground. Plastic sheeting under the work area, wet scraping, no dry power sanding without HEPA extraction, chips collected rather than hosed into the beds.
4. Consider the encapsulation route. Sound lead paint that is left undisturbed and sealed under a new coat is usually safer than sound lead paint that has been enthusiastically removed by someone in a t-shirt.
The full lead-testing breakdown, including where the homeowner exemption stops applying, is in can you pressure wash painted wood.
FAQ
Should you pressure wash a house before painting?
Yes, in almost every case, because dirt, chalk and mildew all prevent adhesion and none of them come off with a brush and good intentions. The exception is a substrate the machine should not touch at all — fibre cement, badly deteriorated wood, or flaking pre-1978 paint — where a garden hose, detergent and a soft brush achieve the same prep without the risks.
How long after pressure washing can you paint?
Sound painted surfaces are usually ready in 24 to 48 hours; bare or freshly scraped wood wants 48 to 72. Shaded elevations need an extra day and humidity above about 70% roughly doubles everything. A pin moisture meter reading at or below 15%, taken on the shaded side and at the lap joints, beats any calendar estimate.
Can you pressure wash paint off a house?
You can, and that is the problem rather than the feature. By the time the jet is stripping sound paint it is also cutting wood fibre and forcing water behind the cladding. If paint is coming off under the wand, back off, drop the pressure and finish the job with a scraper.
Do I still need to scrape after washing if I scraped first?
Usually yes, but far less. The wash finds marginal film that looked sound while it was dry. Plan on one thorough scrape before the machine and one quick pass with the scraper after the wall has dried, then prime. Two short sessions beat one long one.
What detergent should I use before painting?
A neutral or mildly alkaline house wash for general soil and chalk, plus a sodium hypochlorite solution wherever the bleach-drop test says mildew. Apply through the soap nozzle bottom-to-top, keep it wet for five to ten minutes and rinse top-to-bottom at low pressure.
How do I know if my siding is chalking?
Rub a dark cloth or a dry palm across a shaded section of wall. Colour on the cloth means chalk. A faint tint is light chalking that a proper detergent wash will handle; a heavily loaded palm means you should plan on a bonding primer for chalky surfaces as well.
The house looks clean already — can I skip the wash?
A clean-looking wall can still be chalked and still be carrying live mildew, and neither shows up from ten feet away. Do the cloth test and the bleach-drop test first. If both come back negative and there is no loose film, a rinse is genuinely enough — that is the one case where skipping is defensible.
Paint Sticks to What You Leave Behind
Every decision on this page collapses into one question: after the water stops, what is the primer actually touching? If the answer is sound film or clean substrate, the coat will last. If it is powder, spores or a wet lap joint, it will not — and the paint will take the blame for a choice made three days earlier with a wand in your hand.
So scrape it dry, wash it with chemistry rather than pressure, kill the mildew instead of relocating it, and then go and do something else for two days while the north side catches up. Nobody has ever regretted the extra day. Plenty of people have regretted the Sunday afternoon they decided the wall looked dry enough.