Last Updated on September 25, 2026 by Umar Farooq
Cleaning cedar siding is a chemistry job with a rinse on the end, not a pressure job — softwood tops out around 500 to 600 PSI, an oxygen-bleach cleaner and a soft brush do the work in twelve to fifteen minutes, and the machine, if it comes out of the garage at all, is there to apply and to rinse.
That number is the whole argument, so put it next to the others. Vinyl siding is handled at 1,300 to 1,600 PSI. Stucco sits at 1,200 to 1,500. Concrete flatwork absorbs 2,500 to 3,000. Cedar sits at 500 to 600, which is below the *starting* output of the smallest electric machine sold to homeowners. Most of the hard surfaces on your house are comfortably inside the machine’s range. Cedar is not.
And cedar hides the damage for a fortnight, which is the cruel part. Wet wood looks wonderful. It fuzzes as it dries.
Cedar Is the Softest Thing on Your House
Softwood — cedar, pine, fir — is handled at 500 to 600 PSI with a 25-degree tip or wider. A homeowner electric unit runs 1,300 to 2,000 PSI; a homeowner gas unit, 2,000 to 3,200. There is no dial on a consumer machine that reaches down to where cedar lives. That is not a reason to give up on it, but it is a reason to stop treating the trigger as the tool and start treating distance, angle and dwell time as the tool.

Shakes and shingles are worse than decking. A deck board is a solid plank on a joist every 400 mm. A cedar shingle is thick at the butt, thin at the top, nailed at the thin end, overlapped by the course above, with a cavity behind it. Bevel lap siding is the same story in longer pieces. So you are aiming at soft wood that has an open seam every few inches and air behind it.
The USDA Forest Products Laboratory, in a guide written with the cedar shake and shingle trade, put it about as gently as a government document can: “In the rare case that pressure washing of shakes and shingles is necessary, it should be done only by contractors having experience cleaning cedar. In the wrong hands, high-pressure water can easily remove an excessive amount of wood” fibre, shortening the life of the siding (FPL-GTR-202, Installation, Care, and Maintenance of Wood Shake and Shingle Siding). The phrase “in the rare case” is doing an enormous amount of work there, and I do not think it arrived by accident.
The same document gives the rinse instruction most contractor blogs skip: keep the water stream pointed downward so you are not driving water up behind the courses, and “High pressure shouldn’t be necessary.”
The Brown Streaks Running Down Are Not Dirt
Every summer somebody scrubs a cedar wall for an hour trying to shift rust-brown streaking, decides the cleaner is rubbish, and buys a stronger one. The streaks are not on the wood. They came out of it.
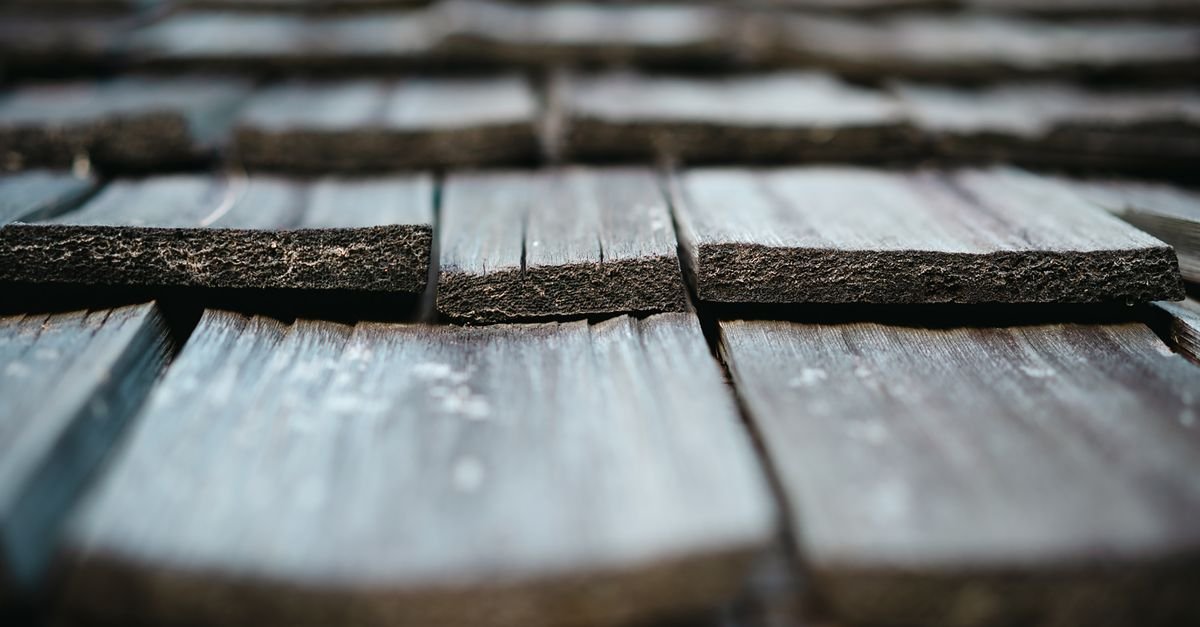
Cedar’s colour, its smell and its natural decay resistance all come from extractives sitting inside the timber, and a good share of those extractives are water-soluble. Give them moisture and a route — a leaking gutter joint, a sprinkler, wind-driven rain into an end cut, a sheltered elevation that wets but never properly rinses — and they migrate to the surface and dry there as tan, rust or chocolate runs. That is extractive bleed, and no biocide touches it, because nothing is alive.
The field test takes thirty seconds. Put a drop of fresh household bleach on the mark. The Western Red Cedar Lumber Association’s care guidance says mildew discoloration typically fades in 15 to 30 seconds (Real Cedar, Siding Care and Maintenance). If the mark is exactly as dark after a minute, stop mixing bleach and read the table instead.
| What you are looking at | Where it shows up | Fades with a bleach drop? | What actually removes it |
| Fine black speckling or a grey-black film | Shaded and north-facing walls | Yes | Oxygen-bleach cleaner, 12–15 min wet |
| Green film, slimy when wet | Low courses, splash zone, behind planting | Yes | Same cleaner, same dwell |
| Tan to chocolate runs below laps and joints | Walls that wet but never rinse | No | Oxalic acid wood brightener |
| Blue-black halo spreading from a nail head | Around fasteners, worst on old galvanised | No | 5% oxalic acid, then change the fastener |
| Even silver-grey across sun-facing courses | The whole exposed elevation | No | Nothing needs to. It is UV weathering |
| Soft, spongy wood under a dark patch | Low down, near ground or a leak | No | Replace the shingle. That is decay |
The fastener row deserves ten minutes of your attention. FPL states that iron reacts with some of the extractives in cedar and redwood to give a dark blue-black stain, and that this often happens once the zinc on galvanised fasteners has weathered away. A 5% oxalic acid solution neutralises it — but the same paragraph adds that oxalic acid “is not very effective for removing algae or mold, nor will it keep iron stain from reoccurring if the source of the iron is not removed.” Translated: clean the halo off every spring for the rest of your life, or change the nails.
One hard rule while both products are in the garage. Oxalic acid is an acid, sodium hypochlorite releases chlorine gas on contact with acids, and a pump sprayer remembers what was in it last month. Brightener day and bleach day are different days, with a proper flush in between.
Chlorine Bleach Pulps Cedar, Oxygen Bleach Does Not
This is where cedar parts company with vinyl, and where a lot of advice online quietly goes wrong by copying a vinyl recipe onto a wood wall.
FPL is unusually direct. Bleaching agents “quickly kill mold and algae, but they also can degrade wood. Therefore, dilute cleaners as much as possible. The object is to remove the fungi without excessive wood damage.” Then the recommendation: use commercial cleaners containing sodium percarbonate or other oxygen bleaches, “because they are more gentle oxidizers than chlorine-containing bleaches such as household bleach. Chlorine bleaches may cause excessive pulping of the wood to give a fuzzy surface.”
Pulping. On a cedar wall, the fuzz people blame on the pressure washer is very often the cleaner.
The mechanism is lignin — the glue holding the cellulose fibres together at the surface. Sunlight has been degrading it for years already, and, as FPL puts it, “Degradation of lignin weakens the surface fibers.” A strong oxidiser finishes what the UV started. The same document warns that cleaners built on strong alkali, sodium or potassium hydroxide, strip residual finish well but “can cause even more surface damage than chlorine bleach.” Stronger is not a setting on cedar. It is a cost.
If you use household bleach anyway, FPL gives a ceiling rather than a recipe: no stronger than three parts water to one part bleach, with a small amount of powdered detergent, never one containing ammonia. Real Cedar lands in the same place from the other direction — a mild bleach solution, “oxygen bleach is preferred.” When the association that sells cedar and the federal lab that tests it both pick the gentler product, that is not marketing.
Here is the part that makes patience cheap: the black is cosmetic. FPL is explicit that mildew and algae on cedar “do not degrade the wood; they cannot break down the structural components of wood,” and that although they can metabolise extractives they “primarily feed off airborne contaminants.” Ignoring them will not harm the siding — which means you have time, and time is exactly what a weak cleaner needs. The wider biology of mildew on wood fills in the picture, and the bleach, surfactant and water ratios for general house washing live on their own page. Just do not carry house-wash strength onto cedar.
Raised Grain Is a Milling Fault That Water Wakes Up
Here is the finding that changed how I read cedar complaints, and I have not seen it in a single cleaning article.
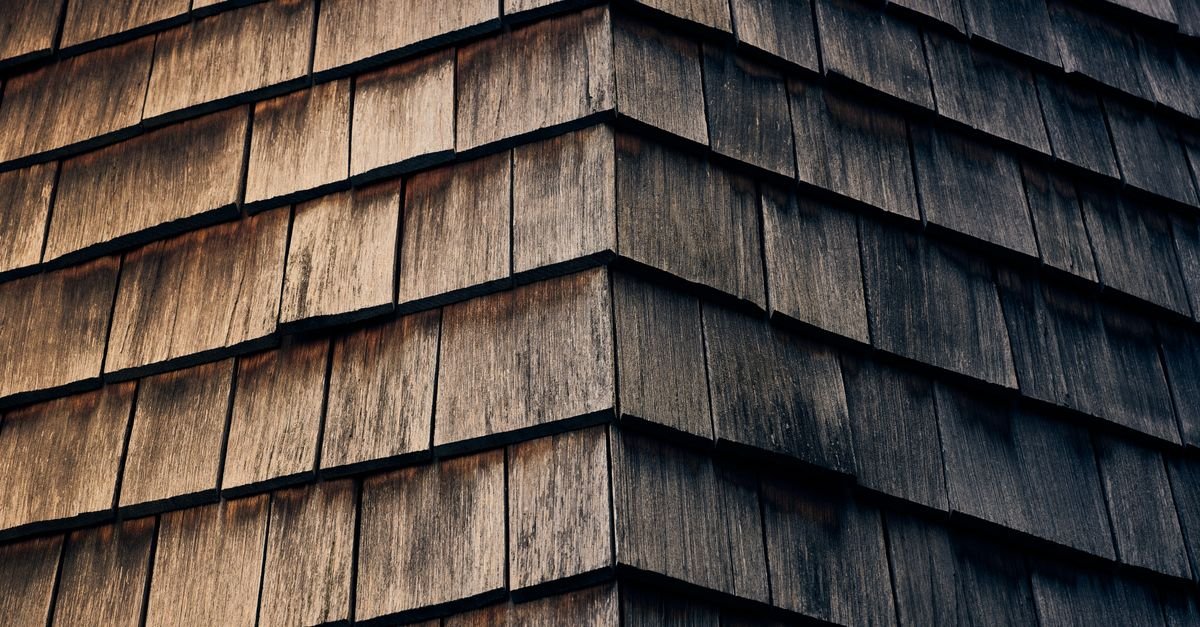
When flat-grained siding is planed, the hard latewood bands are pressed down into the surface and crush the softer earlywood underneath. The board leaves the mill smooth, with a layer of compressed fibre lying flat inside it. Then it goes on a wall, gets wet, dries, gets wet again — and the crushed earlywood absorbs moisture and rebounds, pushing the latewood bands up. That is raised grain. FPL notes it is worst on the pith side of flat-grained boards and much less of a problem in vertical-grained lumber (Mill Glaze: Myth or Reality?, USDA Forest Products Laboratory, 2013).
So some of the roughness that appears after a wash was built into the board at the sawmill and was waiting for enough water. You did not necessarily do it.
That is genuinely different from furring. Furring is fibre torn loose by a jet: mechanical, avoidable, your fault. Raised grain is compressed fibre standing back up: latent in the board, triggered by moisture, and it would have arrived in some wet autumn whether or not you owned a machine. They feel identical under a palm and they sand out the same way, around 80 grit, once the wood is properly dry. What they do not share is a lesson. Furring tells you to back off. Raised grain tells you the day was always coming.
One warning FPL attaches to that sanding, which folds back into the section above: no wire brush, no steel wool, because the iron left behind will stain the wood later. Scour cedar with a wire brush and you clean the wall and seed next year’s blue-black stain in the same pass.
Whatever Happened to Mill Glaze?
If your new smooth-planed cedar is beading cleaner and refusing to take stain, somebody will tell you it is mill glaze — a hard, varnish-like skin supposedly created when dull planer blades overheat the wood and pull extractives to the surface. The cure on offer is always a harsher product.
FPL went looking for that skin and could not make one. They planed lumber with dull blades at high feed pressures and reported plainly: “We have been unable to obtain a ‘glazed’ surface.” They then investigated real failures blamed on mill glaze and found every one was explained by something else — raised grain, UV degradation before finishing, a coating applied too thin, poor surface prep, or moisture.
They are careful to say this does not prove mill glaze cannot happen, only that they could not reproduce it. Fair enough. But it settles the practical question: do not buy a more aggressive cleaner to defeat a glaze a federal laboratory could not manufacture on purpose. If new smooth cedar repels water, it is smooth and low-porosity, a light sand opens it, and FPL’s actual advice is to hang flat-grained siding saw-textured side out in the first place.
A Cleaner, a Soft Brush and Twelve Minutes
This is FPL’s own sequence for shake and shingle siding, with the steps people skip flagged.
1. Pick a cool, cloudy day — FPL suggests a cool cloudy day or even gentle rain, so the solution cannot evaporate. Cedar in July sun dries a cleaner in ninety seconds, after which nothing is happening except streaking.
2. Soak the beds and shrubs first, and re-soak anything that dries while you work. Saturated soil sheds runoff sideways; dry soil drinks it straight to the roots.
3. Work in sections of roughly ten feet by ten feet, applying from the bottom upward so clean runoff does not cut streaks through dirty wood below.
4. Apply with a garden sprayer, a sponge mop or a soft-bristle brush — FPL’s three listed applicators, none of which is a pressure washer.
5. Keep the surface wet with the solution for 12 to 15 minutes. Wet, not sprayed once. Re-mist anything going dull. This is the entire job and it is the step everybody shortens.
6. Brush gently, along the courses. FPL: “Aggressive scrubbing shouldn’t be necessary; let the cleaner do the work.” A car-wash brush on a pole is right. A stiff deck brush is not.
7. Rinse with a garden hose, stream angled downward, so water is not forced up behind the courses. Top to bottom, section by section, until the runoff is clear.
8. Let it dry properly before any finish goes near it. Cedar holds water in the laps long after the face looks dry, and stain over a damp shingle is a peeling job with a delay on it.
Note what is missing from that list: a pressure setting, because there is no pressure.
Where the Machine Is Actually Allowed to Help
I am not going to tell you to leave a perfectly good pressure washer in the shed while you spend Saturday up a stepladder with a sponge mop. It has two real jobs on cedar, and neither is pressure.

Applying the cleaner. Fit the black soap nozzle — widest orifice, and the pressure drop is what lets a downstream injector draw at all — and use the machine as a fifty-foot-reach applicator. On a two-storey gable this genuinely beats a pump sprayer, and it is the one task where the machine wins outright.
Rinsing. White 40-degree tip, nothing narrower, wand 18 to 24 inches back and further if a clean rinse still happens there, angled downward with the courses, moving constantly, never held. Distance is your real pressure control when the dial will not go low enough. Test on a gable end or the wall behind the downpipe and let the patch dry fully before you judge it.
The red 0-degree tip stays in the bag. So does the turbo, which is a 0-degree jet rotating in a cone: it covers like a 25 and hits like a 0, and on cedar you treat it as a 0. Painted or solid-stained cedar adds the separate worry of driving water behind a film that then blisters — there is a full account of painted wood and pressure if that is what you have.
And the opinion I will actually push: if you bought the machine for the cedar, you bought the wrong thing. A five-gallon pump sprayer, a soft brush on an extension pole and a jug of sodium percarbonate will clean a cedar elevation better than a 3,000 PSI gas unit, cost less than a tank of fuel for it, and remove none of the wood. The machine earns its keep on your driveway. On cedar it is a delivery van.
FAQ
What is the best cleaner for cedar siding?
An oxygen-bleach cleaner — sodium percarbonate — applied dilute and kept wet for 12 to 15 minutes. FPL recommends it over chlorine bleach because it is a gentler oxidiser, and chlorine bleaches can pulp the wood surface into fuzz. For plain dirt with nothing growing in it, a mild non-phosphate detergent and water is all the wall needs.
How often should I be cleaning cedar siding?
Once a year is plenty for most walls, and shaded or north-facing elevations are the ones that need it. Because mildew and algae do not degrade cedar, a wall cleaned every second year is not deteriorating in between — it is just darker. Cleaning cedar siding more often than it needs removes more fibre, not less.
Can you pressure wash cedar siding at all?
You can, and the Forest Products Laboratory would rather you did not, describing it as something for the rare case and for contractors experienced with cedar. If you use a machine, use it to apply cleaner through a soap nozzle and to rinse at 40 degrees from 18 to 24 inches with the stream angled down. Never as the cleaning force.
Will bleach ruin cedar siding?
Dilute, once, it will not ruin anything — but chlorine bleach oxidises the lignin holding the surface fibres together and can leave a pulped, fuzzy surface that then takes stain unevenly. FPL’s ceiling for household bleach is three parts water to one part bleach with a little non-ammonia powdered detergent, and weaker is better.
How do I get brown streaks off cedar siding?
Those are extractive bleed rather than dirt, and bleach barely touches them. Oxalic acid wood brightener is the product that works. Then go and find the water — a dripping gutter joint, a sprinkler hitting the wall, an unsealed end cut — because the streak returns for as long as moisture keeps carrying extractives out of the wood.
Why is my cedar fuzzy after washing?
Two causes worth telling apart. Furring is fibre torn loose by too much pressure. Raised grain is crushed earlywood from the planing process rebounding when it gets wet, and would have happened eventually anyway. Both sand out at around 80 grit once the wood is fully dry. Never use a wire brush: the iron left in the grain stains cedar blue-black weeks later.
The Wood Only Gets Thinner
Every clean takes something off a cedar wall. A gentle one takes a film of grime and a colony of mildew. An aggressive one takes those plus a layer of fibre that nothing puts back, and shingles are not thick enough to spare many of those. The whole discipline is choosing the weakest thing that works and being patient enough to let it finish.
If you are already at the wall with the wand in your hand and a test patch drying in front of you, go and touch it before you commit. Fuzz is a decision, not a verdict.