Last Updated on September 26, 2026 by Umar Farooq
Paver joint sand replacement works when the sand matches the joint: a gradation with no more than 5% passing the No. 200 sieve, a largest grain smaller than your narrowest joint, swept in dry, and vibrated down rather than brushed down. Four numbers, none of which is printed on the bag, and one of which explains why last year’s refill has already sunk.
The advice on this topic is remarkably consistent and remarkably thin. Pour sand on, sweep it about with a stiff broom, tap it with a hand tamper, blow the surface off. That is not wrong, exactly. It is just a description of the motions rather than the job, and it leaves out every figure the hardscape trade wrote down for the people who build these patios in the first place.
So I went and read the specification. The Concrete Masonry and Hardscapes Association — the body formed when the Interlocking Concrete Pavement Institute merged into it — publishes a guide specification for interlocking concrete paving, and it has a table for jointing sand, a limit on the fine material in it, a compaction force in pounds, a frequency in hertz, and a number of passes. None of that appears on the first page of search results for this job. This page is what I found and what it changes.
Paver Joint Sand Replacement Begins With a Sieve Size
The bag in the aisle says paver sand. That phrase describes at least two different materials that are not interchangeable in either direction, and the spec is blunt about it.
Bedding sand — the layer under the pavers — has to meet ASTM C33, the concrete sand gradation. Joint sand, the material going back into the gaps, conforms instead to ASTM C144, which is the specification for masonry mortar aggregate. And the CMHA guide spec states plainly: “Do not use mason sand or sand conforming to ASTM C144 for the bedding sand” (CMHA, Guide Specification PAV-GSP-011-21). Two sands, two standards, two jobs, one ambiguous label on the pallet.
Then comes the number that carries this whole section. Both gradations are modified by the trade body, and the modification is on the same sieve — the No. 200, at 0.075 mm, which is the boundary between sand and silt-sized fines:
| Sieve | Bedding sand (ASTM C33) | Joint sand (ASTM C144, natural) |
| No. 4 (4.75 mm) | 95 to 100% passing | 100% passing |
| No. 16 (1.18 mm) | 50 to 85% | 70 to 100% |
| No. 50 (0.300 mm) | 5 to 30% | 10 to 35% |
| No. 100 (0.150 mm) | 0 to 10% | 2 to 15% |
| No. 200 (0.075 mm) | 0 to 1% | 0 to 5% |
C144 as written allows up to 10% passing the No. 200 sieve for manufactured sand. The trade body halves that, and gives the reason in one sentence worth reading twice: ICPI recommends reducing this to no more than 5% “as a means to maintain interlock since material passing the No. 200 sieve can lubricate larger sand particles and thereby reduce interlock among paving units.”
Fines are a lubricant. Not a filler, not a bonus that helps the joint pack tighter — a lubricant, which is the opposite of what a wedged joint needs. The reason your patio does not move under your feet is friction between angular grains bearing against each other and against the paver sides, and dust between those grains is precisely the wrong thing to have there. Five percent is the published ceiling, and it exists because somebody measured what happens above it.
That reframes the bag of cheap dusty sand rather sharply. It also reframes the joints you already have, because a joint that has been quietly collecting silt, pollen and leaf crumbs for four summers has failed the 5% test in the field, and that silt is doing two jobs at once — it is a growing medium, which is why removing weeds from pavers treats the joint rather than the plant, and it is a lubricant in a structure that depends on friction. The same body applies the same instinct to a segmental wall’s drainage stone, specified as clean angular gravel with less than 5% fines; cleaning a retaining wall covers what happens when silt arrives in that zone from the front.
The second spec note in that table is the practical one, and almost nobody states it: “Use material where the largest sieve size easily enters the smallest joints. For example, if the smallest paver joints are 2 mm wide, use sand 2 mm and smaller in particle size.”
A grain wider than the gap does not go in. It bridges across the top of the joint with its neighbours, and a bridged joint looks completely full from a standing height while being hollow a quarter inch down. That is the most common way a refill appears to have worked and has not, and it is a sieve problem rather than a technique problem. Coarser sand is permitted — the spec allows C33 material in the joints — but it warns that “extra effort may be required in sweeping material and compacting the pavers in order to completely fill the joints.” Extra effort is doing some work in that sentence.
The Lower Half of the Joint Came Up From Below
Here is the part I did not know before reading the construction bulletin, and it changes what clearing a joint means.
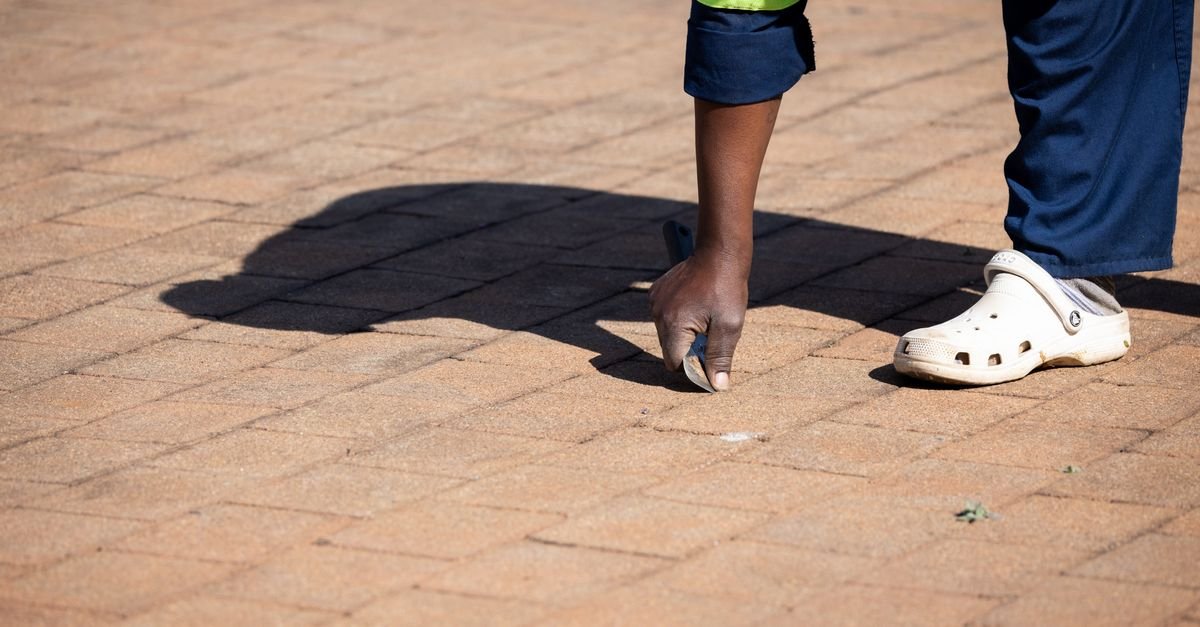
The bedding layer under the pavers is spread and screeded to “an uncompacted nominal 1 in. (25 mm) thickness” of C33 concrete sand. The pavers go on top, and then — before any joint sand exists at all — the whole field is compacted. ICPI Tech Spec 2 describes what that first pass does: at least two passes are made “to seat the pavers in the bedding sand and force it into the joints at the bottom of the pavers” (CMHA/ICPI, Tech Spec 2, Construction of Interlocking Concrete Pavements).
So a finished joint is filled from both ends. Coarse C33 bedding sand is driven up into the bottom of it by vibration, and finer C144 joint sand is swept down into the top of it afterwards. The two materials meet somewhere in the middle, at a depth nobody measured and nobody recorded, and the boundary is invisible from above.
Which makes “clear the joint down to the bottom of the paver” a much bigger instruction than it sounds, and the trade does not agree with itself about it. Our paver cleaning guide carries one manufacturer’s version, which is to remove all of the existing sand to the bottom of the paver before polymeric sand goes in. Alliance Gator, which makes jointing material, publishes the opposite emphasis for the same step: “Remove existing jointing material. Be careful not to disturb the bedding material under the pavers” (Alliance Gator, Gator Maxx G2).
Both instructions are real and both are published. They are reconcilable if you hold the arithmetic in mind rather than the slogan. A pedestrian paver is 2 3/8 in. (60 mm) thick. Gator’s minimum joint depth for its polymeric sand is 1 1/2 in. (38 mm). Subtract one from the other — my arithmetic, from two published figures — and clearing to the required depth still leaves about 7/8 in. (22 mm) of paver beside your tool before you reach anything structural. The depth you need is set by the product. The depth that gets you into trouble is the full thickness of the unit, where the next thing down is a 25 mm layer of levelling sand.
Why that matters is a levelling problem rather than a strength problem. The spec forbids using bedding sand to fill depressions in the base, and Tech Spec 2 explains why in terms that apply just as well to taking sand out: “Over time, unevenness in the bedding sand will reflect through to the surface.” The finished tolerance is not generous either — no more than plus or minus 3/8 in. under a 10 ft straightedge. Scrape a spoonful of bedding sand out from under one corner of one paver and you have spent part of that budget on a single stone.
There is one more line in Tech Spec 2 that shows how the trade already thinks about this material. Around catch basins, where the pavement has an opening in it, the document says those areas “should be covered with a geotextile fabric to prevent loss of the bedding sand.” The industry fits fabric specifically because bedding sand escapes through gaps. An emptied joint is a gap, and nobody fitted fabric to it — which is a decent argument for keeping the pressure ceilings, nozzle choice and standoff distance in the paver cleaning guide rather than improvising, since that page owns them.
Four Passes With a Plate Compactor, and the Sand Goes In Dry
The guide spec’s instruction for filling joints is one sentence, and every word in it is load-bearing: “Simultaneously spread, sweep and compact dry joint sand into joints continuously until full. This requires at least 4 passes with a plate compactor.”
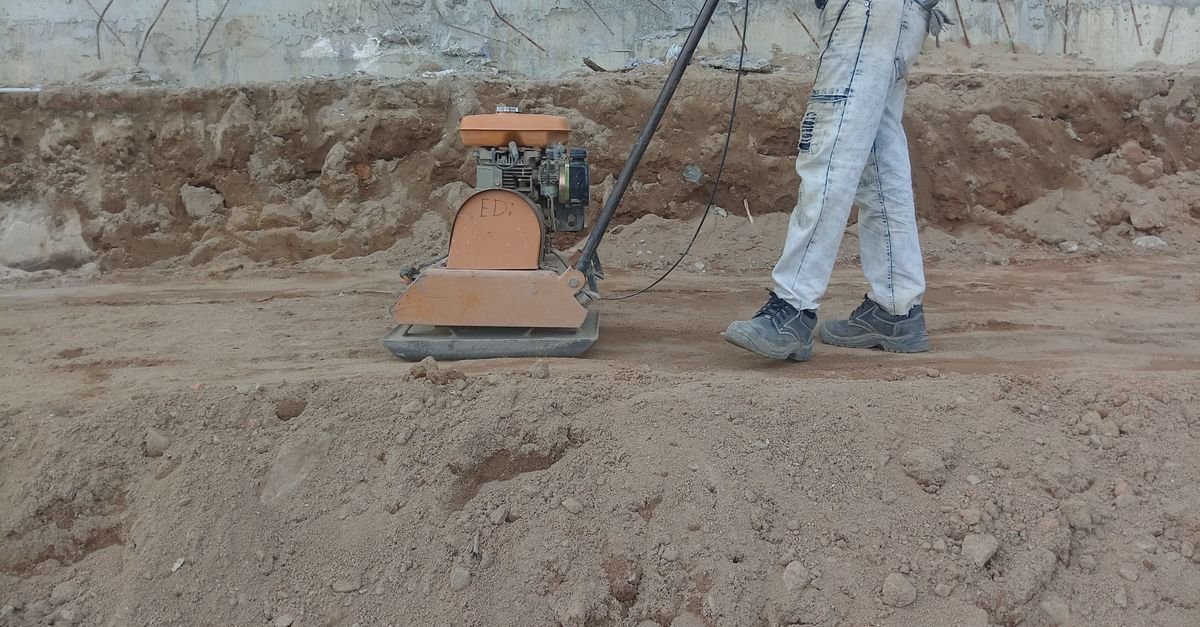
Simultaneously is the word the internet’s version of this job leaves out. Sweep, then tamp, is a sequence of two things. Sweeping while the plate is running is one thing, and it works because vibration turns a column of sand into something that behaves briefly like a liquid: grains lose contact, slide past each other, settle into the tightest arrangement available, and the surface drops. Then you sweep more in, because the joint just got deeper. Repeat until it stops dropping.
The machine has a specification too. A low-amplitude plate compactor with a minimum of 5,000 lbf (22 kN) of compaction force at a frequency of 75 to 100 Hz. That is a rental item, not a garage item, and it is the honest reason a broom-only refill behaves differently from the original installation: you are not achieving the same density, so the joint will settle again and want topping up sooner. That is not a failure. It is just a different outcome than the one the spec describes, and knowing which one you did is more useful than pretending they are the same.
The pass count is one of those places where the same body publishes two figures, so here are both. Tech Spec 2, the construction bulletin, says filling the joints “may require two or three passes of the plate compactor.” The guide specification says at least four. I would take the specification’s number, because it is the later document and because a specification is written to be enforced on a contractor rather than to describe typical practice — but the reader who finds the other figure should know it exists and where.
Then the requirement almost every page skips, and it is not the one about the patio being dry. The sand has to be dry. Tech Spec 2: “If the sand is wet, it should be spread to dry on the pavers before being swept and compacted into the joints.” The guide spec tells the contractor to cover stockpiled bedding and joint sand against rainfall. A bag that has been sitting open behind the shed since the spring is a bag of damp sand, and damp sand does not flow into a 2 mm gap — it clumps at the mouth of the joint and bridges, which is the sieve failure from the first section arriving by a different route.
Two more numbers from the spec that matter to a homeowner more than they matter to a contractor:
- “Do not compact within 6 ft (2 m) of unrestrained edges of paving units.” On a patio whose edge restraint has failed, that is a two-metre band around the perimeter where the correct method is unavailable, and the perimeter is exactly where joint loss shows up first. Fix the restraint before the sand.
- Edge restraint needs “a minimum of 1 in. (25 mm) vertical restraining surface” in contact with the side of the paver. That converts a vague instruction to check your edging into something you can measure with a ruler.
Fill level, finally. Gator asks for its sand to sit “at least 1/8 inch (3 mm) below top of paver’s surface without chamfer or 1/8 inch (3 mm) below the chamfer or erosion may occur.” Flush is not the target, and neither is a millimetre shy of flush — the little recess is deliberate.
Polymeric Sand Publishes a Minimum Joint Width of 3 Millimetres
This is where the two specifications collide, and I did not expect the collision to run this way.
The guide spec’s joint width for interlocking concrete paving is 1/16 to 3/16 in. (2 to 5 mm), with no more than 5% of joints exceeding 1/4 in. (6 mm). Most pavers carry moulded spacer bars on their sides precisely to hold that dimension, so the width is not an accident of laying — it is designed in.
Gator Maxx G2’s published requirements are a minimum joint width of 1/8 in. (3 mm) and a minimum joint depth of 1 1/2 in. (38 mm).
Put those side by side. A patio laid at the tight end of its own specification — 2 mm joints, which is exactly what a spacer bar delivers — is narrower than that polymeric sand’s published minimum before the bag is opened. Not marginally. The product floor is half again the spec’s lower bound. On tight joints the trade body’s own advice points the other way anyway: use sand 2 mm and smaller, which is loose graded sand, not a polymer blend that has to slide a full 38 mm down.
The depth figure is also worth pinning, because this site already carries a different one. Another manufacturer asks for a joint depth of at least 1 inch, recorded on removing weeds from pavers along with the two water-related failure modes that page owns — the crust from under-watering and the polymer separation from over-watering. Gator asks for 1 1/2 inches. Two makers, two minima, both published. If you are using a specific product, follow that product’s number and not the one you read somewhere first.
And the maker’s stated reason for the dry requirement is the same word that runs through the whole spec. Do not apply to damp joints, Gator says, because that “will prevent the GATOR MAXX G2 from properly sliding into the joints and obtaining very densely packed joints, which is critical to the product’s performance.” Density. Not adhesion, not cure, not coverage — the thing the plate compactor was for.
FAQ
What sand do you use for paver joint sand replacement?
Jointing sand conforming to ASTM C144 gradation, with the trade body’s modification of no more than 5% passing the No. 200 (0.075 mm) sieve. The largest grain must be smaller than your narrowest joint — if the tightest joints are 2 mm, use sand 2 mm and under. Bedding sand (ASTM C33) can be used in joints but takes noticeably more sweeping and compacting to fill them, and mason sand must never go the other way, into the bedding layer.
Will play sand or builder’s sand work in paver joints?
Both are the wrong shape and usually the wrong gradation. Play sand is typically rounded and fine, and rounded grains roll past each other instead of wedging. The spec asks for washed, non-plastic, symmetrically shaped grains, natural or crushed from rock, with the fines capped at 5%. Fine dusty sand is worse than useless here, because material passing the No. 200 sieve lubricates the larger grains and reduces the interlock that holds the pavement together.
Do I have to clear the old sand out before refilling?
It depends entirely on what you are putting back. Loose jointing sand can be swept onto a partly filled joint and vibrated down. Polymeric sand needs its full published depth — 1 to 1 1/2 inches depending on the maker — so the old material has to come out to that depth. Clearing further than the product requires is where you risk reaching the bedding layer, which is a nominal 1 inch of levelling sand and the one thing under there you cannot put back from above.
Can I sweep the sand in with a broom instead of hiring a compactor?
You can, and it will look right. It will not be the same density. The specification calls for spreading, sweeping and compacting at once, with a minimum 5,000 lbf plate compactor at 75 to 100 Hz, and at least four passes. Without vibration the grains never reach their tightest packing, so the joint settles over the following weeks and wants topping up again. Treat a broom-only job as maintenance rather than replacement, and plan on repeating it.
How long after washing a patio can I re-sand it?
Long enough for the joints to be dry, not just the paver faces — and the sand itself has to be dry too, which is the requirement most people miss. The construction bulletin tells installers to spread wet sand out on the pavers to dry before sweeping it in. Damp sand clumps at the mouth of a narrow joint and bridges, leaving a hollow joint that looks full.
How full should the joint be when I finish?
Not flush. One manufacturer specifies its jointing material sitting at least 1/8 inch (3 mm) below the top of the paver, or 1/8 inch below the chamfer on a chamfered unit, and warns that erosion may occur otherwise. On the paver side, the finished surface tolerance in the spec is plus or minus 3/8 inch under a 10 ft straightedge, which is the check to run if a refilled area has started to look uneven.
Eighty PSI Is the Maintenance Pressure for the Joint You Just Refilled
Here is the one opinion on this page, and I am borrowing it from the company that makes the material. For ongoing care of a polymeric joint, Gator’s instruction is to wash and rinse “by using a hose and a watering gun set to shower with the normal maximum water pressure from any residential or commercial building (typically 80 psi/550 kPa).”
Eighty psi. From the manufacturer of the stuff in the joint, for the surface including the joints. Every pressure figure this site publishes for cleaning pavers is between fifteen and thirty times that, and they are not in conflict — one is for washing a paver face and the other is for maintaining a jointing material — but the second number has to change what you do once the joints are done. Fill them properly and the machine’s remaining job on that patio is small, occasional and held at a distance. The maker of the joint specified a garden hose, and put the figure in psi so nobody could misread it.
Four numbers decide this job and none of them is on the bag. Five percent fines, because dust lubricates the grains that are supposed to wedge. A largest grain size below your narrowest joint, because sand that cannot enter bridges instead. Four compactor passes with the broom moving at the same time, because vibration is what packs a column of sand. And a dry bag, because damp sand will not slide 38 mm down a 2 mm gap no matter how enthusiastically you sweep. Get those and the joint you refill behaves like the joint somebody built. Miss the sieve size and you have laid a very convincing lid.