Last Updated on September 25, 2026 by Umar Farooq
Whether you can repair pressure washer pump damage comes down to three questions — which pump you own, which part actually failed, and whether the casting is cracked — and only one of those answers is expensive.
Three failures are genuinely worth an afternoon and a kit: worn seals, worn or pitted valves, and a worn unloader. (The unloader bolts onto the pump rather than living inside it, which is why it is both the most common of the three and the easiest to fix.) Everything else is either not the pump at all, or it is the kind of damage where the honest advice is to stop spending money on this particular lump of aluminium.
Most pump repair articles are written by people who sell pumps. They are technically accurate and strangely reluctant to say the words “do not bother.”
Rule Out the Cheap Stuff Before You Open Anything
Most people arrive at a pump rebuild by elimination, and most of them eliminate in the wrong order. Four parts fail far more often than the pump does, and all four sit between the tap and the trigger.
Fit a fresh high-pressure nozzle. Take the inlet filter out and look through it against a window. Time the tap into a bucket and confirm it delivers the machine’s rated gallons per minute. Then rule out an unloader stuck in bypass — the tell there is a pump head that gets hot while you are barely using it.
All four cost nothing, and the full ladder is laid out in the guide on what to check when a machine has lost pressure. Work through it first. A rebuild kit fitted to a machine with a blocked inlet screen will produce exactly the same symptoms as before, plus a free afternoon gone.
Three Symptoms That Genuinely Mean the Pump
Once the cheap suspects are cleared, three signatures point squarely at the pump internals. Cat Pumps publishes a symptom-and-cause list that lines up with all three, and it is worth reading before you order anything (Cat Pumps troubleshooting).
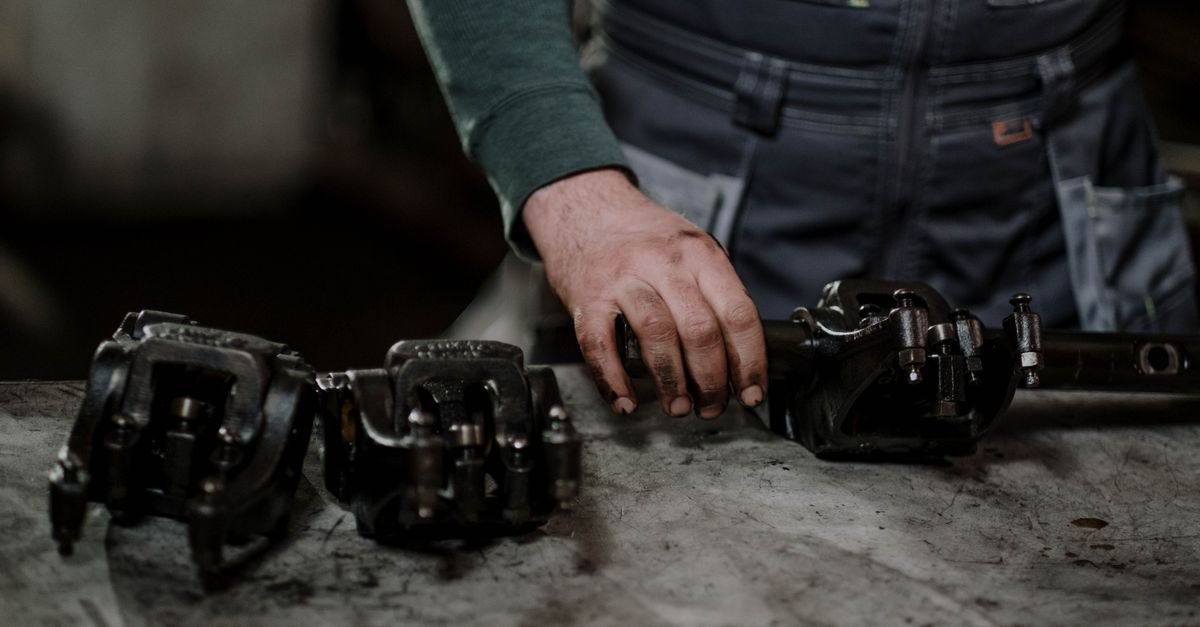
Water running out from under the manifold. Not a fitting, not the hose — water appearing from the seam where the pump head meets the crankcase, usually more of it as the machine warms. That is low-pressure seals or packings, sometimes with worn sleeves or a chipped plunger behind them. This is the single most repairable pump failure there is.
Pulsation or a rhythmic knock under load. A steady surge you can feel through the gun, worse when the trigger is held, points at inlet or discharge valves — stuck, worn or pitted. The distinction that matters: cavitation also knocks, but cavitation knock comes with a starved inlet and goes away when you fix the water supply. Valve knock does not care how good your hose is.
Milky oil where the level has risen. Cloudy oil at an unchanged level is usually condensation. Milky oil plus extra volume in the crankcase means water is crossing the plunger seals into the oil, which is a seal job and will not resolve itself. The full distinction, including what grey metallic specks mean, is in the piece on pump oil and what it is telling you.
Anything outside those three — no water at all, engine problems, a machine that starts and dies — is a different fault and a different article.
Which Pumps Can Be Repaired and Which Cannot
Here is the part the parts catalogues bury. If the manufacturer never published an exploded parts diagram for your pump, nobody ever expected you to open it. That single test sorts most machines faster than any spec sheet.
Wobble-plate pumps, fitted to most cheap electric units, have no drain plug, no dipstick and no published breakdown. They are pressed together, filled once and sent out into the world with no expectation of ever being opened again. When one fails, it is a replacement pump or a replacement machine, and the parts counter will tell you so in about four seconds.
Axial cam pumps sit in the middle. Kits exist for some models, and people do rebuild them. Whether that is sensible is an economics question rather than a mechanical one, and it is covered further down.
Triplex plunger pumps are the ones built to come apart. Drain plug, sight glass or dipstick, a service manual, and seal and valve kits sold by part number. These are the pumps that outlive two engines, and they are the reason some twenty-year-old trailer rigs are still working.
The fastest way to find out which you have: look for a fill plug and a sight glass, then search the casting number stamped on the pump body rather than the model number on the machine. The pump usually has its own maker, and that maker usually has a manual.
Seal Kit, Valve Kit, or Both
Two kits cover almost every repairable pump failure, and they are not interchangeable.
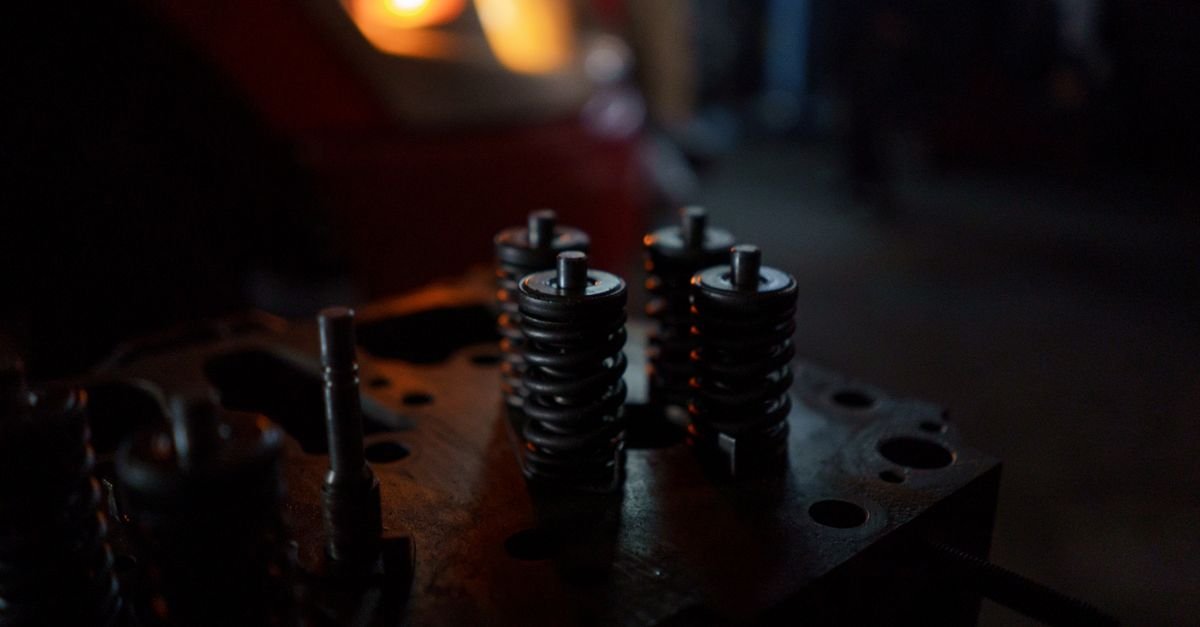
A seal kit contains the low-pressure seals, the high-pressure seals or v-packings, and the O-rings that go with them. A valve kit contains the retainer, spring, valve, seat and O-rings — the whole valve assembly rather than a rubber disc.
Match the kit to the symptom:
| What you are seeing | What to order |
| Water weeping from under the manifold | Seal kit |
| Milky oil with a risen level | Seal kit |
| Pulsation or knock under load, good inlet | Valve kit |
| Pressure that sags only under a wide nozzle | Valve kit |
| Both, on a pump with unknown hours | Both |
| Hot pump head, weak spray | Unloader, not a pump kit |
Valves outlive seals by roughly a factor of two, which is why Cat Pumps tells owners to fit a valve kit on every second seal change rather than on every one (Cat Pumps, preventive maintenance). Put hours on that and the spread is wide: a CAT pump distributor gives seal intervals of roughly 1,500 to 8,000 running hours and valve intervals of 3,000 to 16,000, depending entirely on inlet conditions, temperature and water quality (Castle Pumps, CAT pump maintenance).
Run the arithmetic for a homeowner and it gets strange. Fifteen hours of use a year means a hundred years to reach the bottom of that seal range, which no seal will ever see, because it will have perished from age and dry storage long before it wears out. Pump seals do not only die from work. They die from sitting.
One detail that catches people out on reassembly: seals are directional. Cat Pumps puts it in one line — the side with the groove faces the water. Fit a seal backwards and it will not seal at any pressure, and you will spend the evening convinced the kit was faulty.
Damage No Rebuild Kit Will Fix
Four failures are terminal, and every one of them is worth checking for *before* the kit arrives.
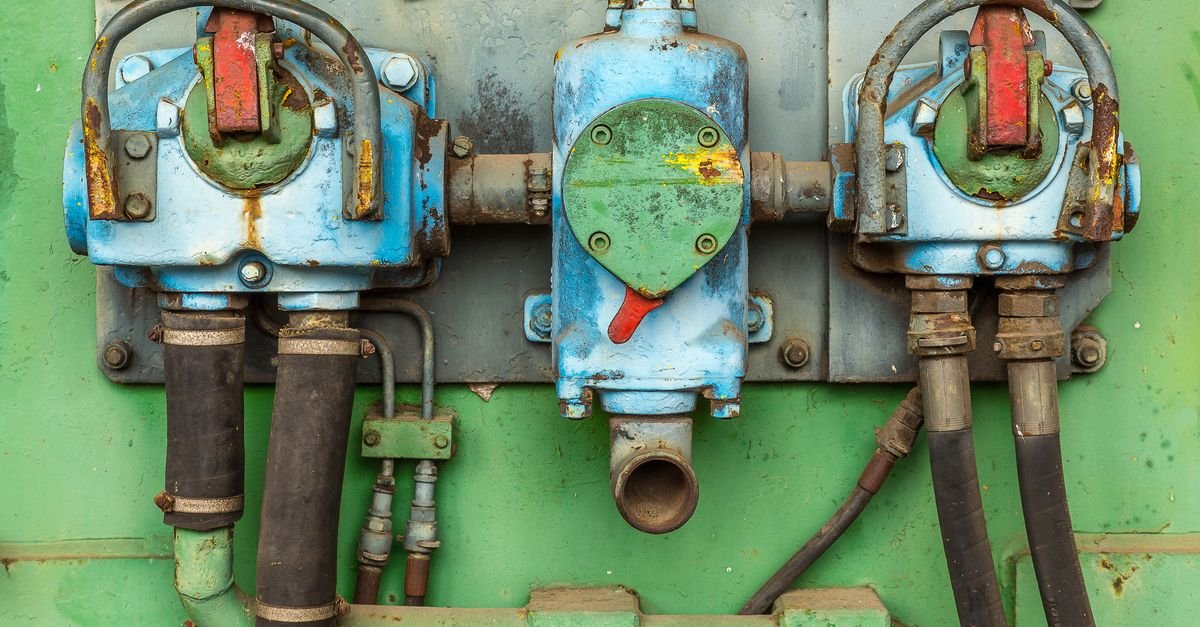
A cracked manifold. Trapped water turns to ice, ice takes up more room than water did, and the casting is the thing that gives. The crack is often hairline and often hidden under a fitting, and the tell is water appearing from the body of the casting rather than from a seam. No kit fixes a cracked casting. It is also the cheapest failure on this list to avoid entirely, and thirty seconds of storage prep is the whole of the prevention.
Eroded valve seats. Cavitation does not politely wear a surface down. It erodes it in craters, and a seat that has been cavitating for a season comes out looking sandblasted. A new valve dropped onto a cratered seat leaks the moment it is torqued up. If the seat is rough enough to catch a fingernail, the manifold is finished and the valve kit will not save it.
A scored or chipped ceramic plunger. Replaceable as a part on a triplex. On a sealed axial it is the end of the conversation, because there is no part number to buy.
A crankcase that ran on milky oil for a season. Water in a crankcase becomes rust on the journals and scoring on the bearings. Once there is play in the shaft, seals are irrelevant — the plungers are no longer running true, and the new ones will wear out at the same angle as the old ones.
Teardown Order: Manifold Off, Crankcase Shut
The order matters, because almost everything you want is in the front half of the pump and almost everything that ends the job is in the back half.
1. Depressurise. Engine off, water off, trigger squeezed until nothing comes out. A pump holds pressure after shutdown and it does not care that you are finished for the day.
2. Drain the oil into something you can see through. Look at what comes out before you look at anything else — it is free diagnostic information you only get once.
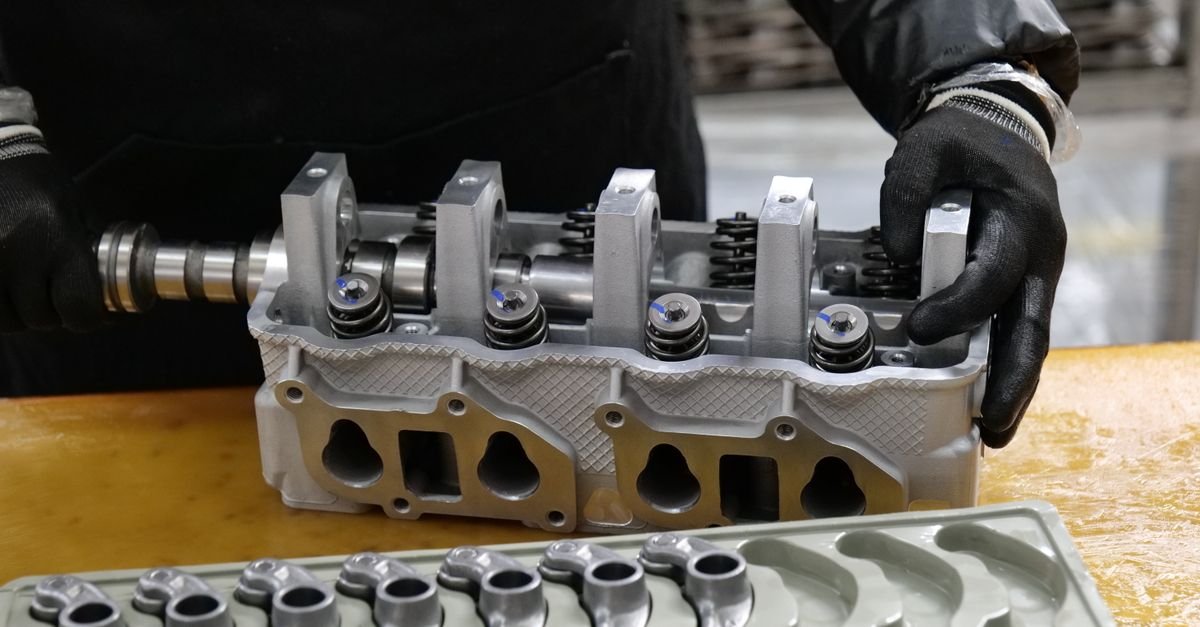
3. Unbolt the manifold evenly, a quarter turn at a time in a cross pattern, the same way you would take off a cylinder head. Manifolds are aluminium and they warp if you unload one corner completely while the opposite corner is still clamped.
4. Lift the manifold straight off. Do not lever it sideways. The valves live inside it, usually as cartridges that pull out with fingers or a small hook, and they come out in an order you will want to remember.
5. Lay the parts out in the order they came off. Six valve assemblies look identical right up until two of them are not.
6. Seals next, in the head and the crankcase adapter, groove side toward the water.
7. Stop at the crankcase. Unless the diagnosis is bearing play, the crankcase stays shut.
On reassembly, torque the manifold bolts in the same cross pattern to the figure in your pump’s service manual rather than to feel. Aluminium threads strip quietly and then you have converted a seal job into a scrap pump. If you cannot find the manual, that is itself a useful answer about whether this pump was meant to be opened.
The One-Third Rule for Repairing a Pressure Washer Pump
Here is the rule I would use, and it is deliberately blunt: if the kit costs more than a third of a bolt-on replacement pump, buy the pump.
The reasoning is that a kit only renews the parts in the kit. The manifold, the plungers, the bearings and the shaft all carry on ageing, and on a pump that has already worn one set of seals out through use, the second set rarely lasts as long as the first. A replacement pump resets everything and takes about forty minutes to fit.
I went looking for a citable price table to put underneath that rule and could not find one worth printing. Every figure in circulation is either a retailer listing that will have moved by the time you read this, or a forum post quoting another forum post. So price it yourself, which takes five minutes:
- Find the casting or model number on the pump body, not the model number on the machine.
- Search that number plus “seal kit” and plus “valve kit” and note both prices.
- Search the same number plus “pump” for a direct replacement, and check shaft diameter and bolt pattern match.
- Compare. Apply the third.
One thing worth saying before you write the whole machine off: a dead pump on a healthy engine is a pump problem, not a machine problem. Engines outlast pumps routinely, and bolting a new pump to a good engine is usually the cheapest outcome on the table.
FAQ
Can I repair pressure washer pump seals without taking the pump off the engine?
Often yes, on a triplex. The seals sit in the head and the crankcase adapter, both reachable once the manifold is off, and the manifold unbolts from the front. On most axial pumps you will need the pump off the engine to get at anything, because the head and the crankcase are the same casting.
How do I know if my pressure washer pump is bad?
Three signatures: water weeping from under the manifold seam, pulsation or knocking under load with a healthy water supply, and milky oil where the level has risen. If none of those are present, check the nozzle, inlet screen, water supply and unloader first — those four account for most lost pressure.
Is it worth rebuilding a pressure washer pump?
On a triplex, almost always. On an axial cam pump, only if the kit costs well under a third of a replacement pump. On a sealed wobble-plate pump, no, because there is nothing to rebuild it with.
What is in a pressure washer pump rebuild kit?
A seal kit holds low-pressure seals, high-pressure seals or v-packings and the matching O-rings. A valve kit holds the retainer, spring, valve, seat and O-rings. Some sellers bundle both and call it a rebuild kit, so check the contents list rather than the name.
Can a cracked pressure washer pump head be repaired?
No, not reliably. Epoxy and cold-weld compounds do not survive thousands of PSI and thermal cycling, and a freeze crack usually runs further through the casting than the visible line suggests. A cracked head means a new manifold or a new pump.
Do I need special tools to rebuild a pressure washer pump?
Usually a socket set, a torque wrench, circlip pliers and a seal pick will cover it. Some pumps need a seal insertion tool to seat packings squarely, and those are cheap and worth having. What you genuinely need is the service manual for your pump, for the torque figures.
Let the Pump Tell You Whether It Is Worth It
Every question in this article is answered by the pump itself rather than by the machine it is bolted to. A drain plug and a sight glass mean somebody expected you to open it. A published parts diagram means somebody expected you to fix it. A smooth sealed shell with no fill point means somebody expected you to replace it, and was polite enough not to say so on the box.
Check the oil, check the casting for a crack, then order the kit that matches the symptom rather than the kit that matches your optimism.