Last Updated on September 26, 2026 by Umar Farooq
Cleaning a log home is a job where the seams matter more than the wood — the chinking between courses, the drying checks in the log faces, and which kind of finish is already on the wall each decide what a pressure washer does, and on all three counts the machine’s honest role is to rinse rather than to clean.
A log wall is the only wall on your house where the gaps are a branded product with a warranty. Everywhere else the joint between two pieces of cladding is a lap, shedding water because of its shape. On a log wall the joint is a flexible bead somebody gunned in, holding the weather out by adhesion alone.
People search for this as cleaning a log home, cleaning a log cabin, washing logs or cleaning log siding, plus the two words only log owners use: *chinking*, the band between courses, and *checks*, the splits that open along each log as it dries. Log siding is the one real variation — a milled half-round skin over a conventionally framed wall, with every seam a full-log wall has and a fraction of the wood behind it. Everything below applies, with less margin.
The Chink Line Is a Bead Bonded to Two Moving Surfaces
Chinking looks like mortar and behaves like nothing of the kind. It is an elastomeric acrylic band that has to stay stuck to the log above and the log below while both of them shrink, swell and settle for years. Manufacturers do not design that joint by eye, and once you know the shape you can see what a jet does to it.
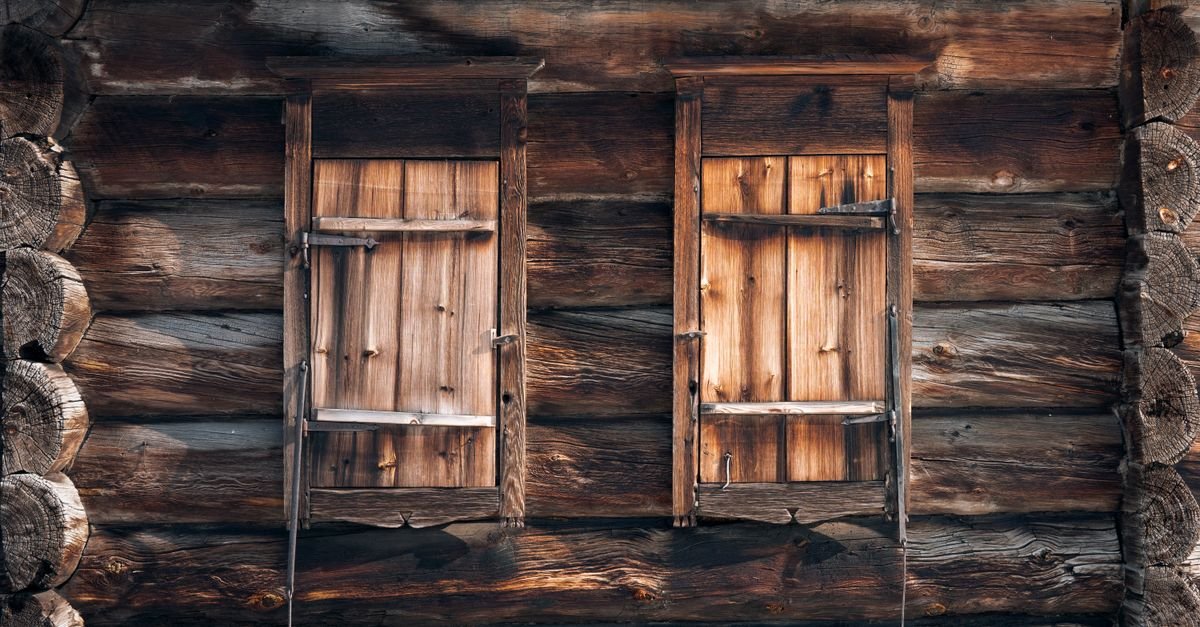
Sashco publishes the design, and it is an hourglass with two points of adhesion — the bead grips the log above and the log below, and nothing else. A closed-cell backer rod sits behind it as a bond breaker, specifically so the bead does *not* stick to the back of the joint. A third point of adhesion costs it stretch and makes it fail sooner; with only two, extreme movement gives cohesive failure, which Sashco calls “the best kind” — the bead tears down its own middle and the bond to the wood survives. They also size it: the chink line should be no less than 15% of the log width, so a 10-inch log wants a band around 1½ inches, at a depth of half the joint width, never under ¼ inch (Sashco, How to Create a Proper Caulk Joint on a Log Home).
Now read that from the wand’s end: a band held on by two edges, with a deliberately non-stick void behind it. A stream aimed level at a seam — or upward, which is what everyone does because the wall is above them — is a wedge arriving square on at a bond line. Where the bead is fully stuck you are wasting your time. Where it has quietly let go along one edge, a hairline invisible from the ground, the water goes behind it and the bead becomes a lid.
That is the fault that matters, and it is the opposite of the one you are told to look for. A missing chink line is obvious, and it dries. One still in place and no longer bonded is a funnel with a cover on it.
So before any water, put a gloved thumb on every seam you can reach and push.
- Chalky, dull, firmly attached. Normal weathering. Leave it.
- A dark hairline where bead meets wood, or an edge you can lift with a fingernail. Adhesion failure. Repair that seam before you wash it, not after.
- A split down the centre of the bead with both edges still gripping. Cohesive failure. Not lovely, but the wood bond held, which is what the joint was designed to do.
One geometry rule is worth more here than any pressure setting: the stream crosses a seam, it never enters one. Down and across, so the water arrives already on its way past. Never level. Never up.
A Drying Check Is a Funnel That Points Into the Log
This is the part of a log wall with no equivalent anywhere else on the house, and the reason logs need their own page rather than a paragraph in a siding guide.
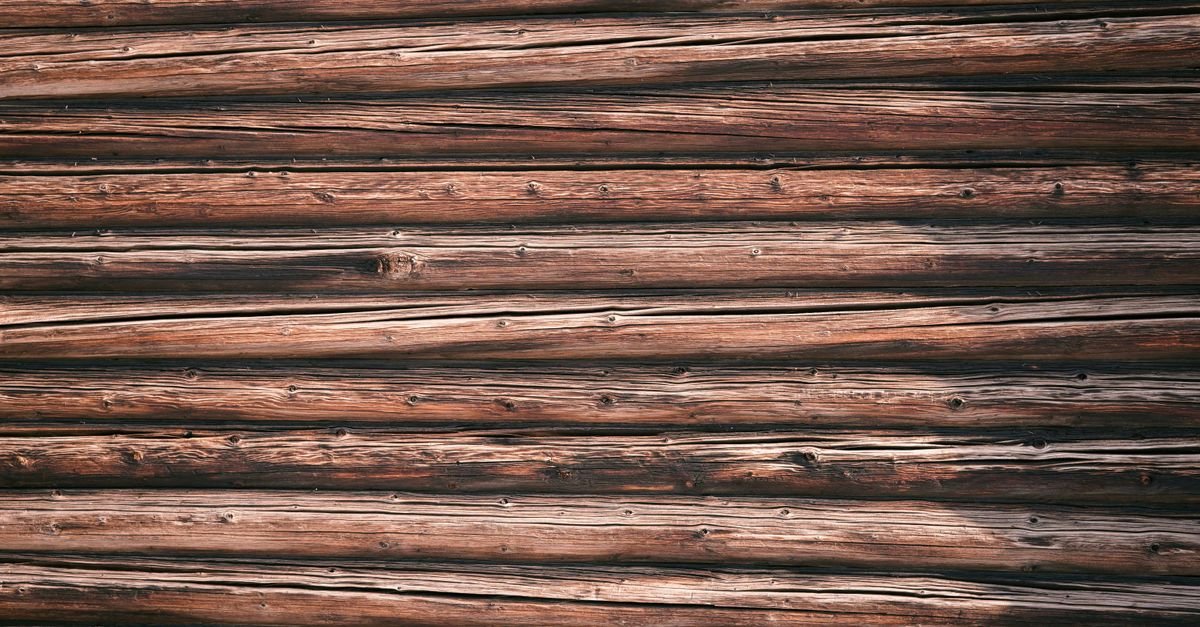
Perma-Chink defines them plainly: “Checks are those longitudinal splits that appear as logs lose their moisture.” They open because the outside of a log dries and shrinks faster than the heart, and they run along the grain, from the surface inward. They are not a defect. Every solid log wall has them, and a log that has never checked is a log that has never dried.
What matters is which way each one faces. Perma-Chink again: “If the checks face upward to that they can collect blown rainwater, then weather conditions can introduce water into the heart of your logs — a very undesirable condition that can result in wood rot in the log.” Their own guidance says a check facing downward, protected from water and not letting drafts through, does not need sealing at all (Perma-Chink Systems, Log Checks – to Seal or Not to Seal?).
That asymmetry is the point. A check facing the sky is a very small gutter draining into the structural middle of your house. Nobody designed it. The tree did. And the surface inside it is raw split grain with nothing on it, in a slot the sun cannot reach and the wind cannot cross. Behind siding, water that gets past the face runs down and drains. Inside a check there is no down. There is only log.
Which brings the awkward bit. Rain arrives at an angle the weather chose, and the weather is mostly vertical. A stream arrives at an angle *you* chose, and people choose upward, because the second storey is up. A wand can wet the inside of a check that no storm in that log’s life has reached.
So the order of operations is not the one most people use:
1. Find every check that faces up or sideways — worst around windows, doors and the sun-facing elevation.
2. Anything a quarter-inch wide or more gets backer rod pushed in and a check sealant over it, before the wall gets wet. Perma-Chink’s instruction is backer rod plus sealant at ¼ inch and wider, leaving roughly ¼ inch of depth for the sealant.
3. Wait. Their guidance is explicit that a check damp from cleaning, rain or a borate treatment must dry before sealant goes on.
4. Then clean.
Nobody puts that sequence on a cleaning page, because a cleaning page wants to get to the cleaning.
Penetrating or Film: Your Finish Decides the Whole Wash
Establish what is already on the wall before you buy a cleaner, because the two common finish types respond to washing in opposite directions. The four-second fingernail-and-putty-knife test, and what each answer means for a recoat, is set out in cleaning and staining a wood deck. Do it in three exposures, because a wall can carry both.
A film finish is a coating, and you are washing the coating, not the wood. Log-home film systems are water-based and behave more like an exterior latex than a stain. An intact film has edges — at every check, every chink line, every log end, everywhere a previous coat stopped. Lift one and the peel runs, because there is no feathering with a pressure washer. You do not take a patch off a film.
A penetrating finish is in the wood, so there is no bond line to break. The recoat is genuinely wash, dry, coat. The trade-off is that the wood surface *is* the surface, and furring becomes the failure mode instead of peeling.
Then the trap that turns a wash into a re-stain, and it is chemical rather than mechanical. Perma-Chink — a company whose business is selling the film — writes that “chlorine bleach destroys lignin, a component of wood that hardens and strengthens the cell walls,” and that “once the surface cellular structure loses its integrity, film-forming finishes like LIFELINE have no sound wood to bond to, and can peel off.” They put the blotches and streaks people blame on bad stain down to bleach pulling tannins to the surface, where they meet milling residue (Perma-Chink Systems, Consequences of Using Chlorine Bleach).
Read the timeline, because it runs a year end to end. You bleach the mildew off in June and it works. You coat in July. The coat peels the following spring, and the wall you blame is the wall you bleached. Why an oxygen bleach brightens that surface layer instead of dismantling it is covered in oxygen bleach for cleaning. On a wall due a film finish, a bleach-free cleaner is the difference between one job and two.
Walk the Wall Before You Wet It
Twenty minutes with a gloved hand and a screwdriver, before anything gets connected. The first three items are the sections above. These are the three nobody lists.
4. Probe for soft wood at log ends, under window sills, along the bottom course, and anywhere a downspout discharges. If the screwdriver sinks, that log is decayed, and washing it is filling a sponge.
5. Log ends. End grain drinks at a different rate from the face, which is why sealants exist specifically for it. Never point a stream into one.
6. Stand inside. If a seam has a path through it, the honest place to find that out is the interior wall rather than the structure. Have somebody indoors for the first rinse of an elevation nobody has washed before.
If the lap turns up nothing, you have a sound wall and a pleasant afternoon ahead. If it turns up three soft logs and a seam you can get a fingernail behind, you have just learned this was never a cleaning job.
What the Machine Is Actually For Here
The pressure washer has two jobs here, and neither of them is cleaning.
Applying the cleaner. Black soap nozzle, widest orifice, lowest pressure — that pressure drop is what lets a downstream injector draw detergent at all. Fifty feet of reach up a two-storey gable beats a ladder and a pump sprayer, and it is the one task the machine wins outright.
Rinsing. White 40-degree tip, well back, stream angled down and across every seam, moving constantly. Softwood’s published pressure ceiling and the reason it furs are laid out in cleaning cedar siding — a log is the same species family with the same limit, so I will not restate the number.
Because the number is not your main control here, and that is the opinion I will defend: on a log wall the angle of the wand matters more than the setting on the machine, and no PSI figure rescues a bad one. Every other wall on the house sheds water the way a roof does — lapped, overlapping, seams pointing down. A log wall is a stack of horizontal cylinders with the joints facing straight out at you and the checks facing up at the sky. That is architecturally lovely and hydrologically ambitious. A modest stream aimed up under a chink line puts water where nothing can dry it. A stronger one aimed down across the same seam puts water on the ground. The first control is your wrist.
The cleaning itself is a bleach-free log cleaner, a soft long-handled brush and dwell time: bottom up with the cleaner, top down with the rinse, one elevation at a time. The red 0-degree tip stays in the bag, and so does the turbo, which spins a 0-degree jet into a cone and lands like one.
FAQ
Can you pressure wash a log home?
You can, but not as the cleaning force. Use the machine to apply cleaner through the soap nozzle and to rinse with a 40-degree tip well back, angled down across the seams. The scrubbing belongs to a soft brush, because the two things a jet can reach here — the back of a chink line and the inside of an upward-facing check — are the two places water must never go.
What PSI is safe when cleaning log home walls?
Logs are softwood, and the published softwood ceiling sits below where any consumer machine idles — the cedar siding page has the figure. The more useful answer is that pressure is the second variable here. Angle and distance are the first: a low-pressure stream pointed up into a seam does damage a higher-pressure stream pointed down across it does not.
Will pressure washing damage chinking?
Sound, fully bonded chinking generally survives a sensible rinse. Chinking that has lost adhesion along one edge does not, and that is the fault you cannot see from the ground. The joint is built with two points of adhesion and a deliberate void behind it, so a stream past a failed edge ends up in a cavity with a flexible lid on it.
What is the best cleaner for cleaning a log home?
A bleach-free cleaner made for log homes, or an oxygen-bleach cleaner, applied with a sprayer and worked with a soft brush. Avoid chlorine bleach on any wall you intend to coat: it degrades the lignin at the wood surface, and film-forming log finishes then have nothing sound to bond to. A branded finish system usually restricts which cleaners keep its warranty intact.
Should I seal log checks before or after cleaning?
Before, with drying time in between. Sealing a check needs the wood inside it dry, and a wash puts water in exactly the places you were about to seal. The other order means waiting out the log twice.
Why did my log home go fuzzy after washing?
That is furring — loose wood fibre torn free by too much pressure or too little distance. It is mechanical, and no cleaner reverses it; the fix is sanding once the wood is dry. It matters more on logs than on decking, because stain and film finishes bond to loose fibre about as well as tape bonds to dust.
The Brush Cleans, the Machine Rinses
Three faults, and not one of them is the wood. The chink line is held on by two edges and hides its own failure. The check is a split that points inward and cannot drain. The finish decides whether a wash is maintenance or the first half of a re-stain. Find all three with your hands before you find them with a wand.
Decide which job this wash is before you start it. If the finish is sound, it is maintenance: a log-home cleaner, a soft brush, a rinse angled down across the seams, done in a day. If you are washing ahead of a re-stain, keep chlorine bleach off the wall entirely — it degrades the lignin at the surface, a film finish then has nothing sound to grip, and you will have bought yourself a sanding job instead of a coating one.